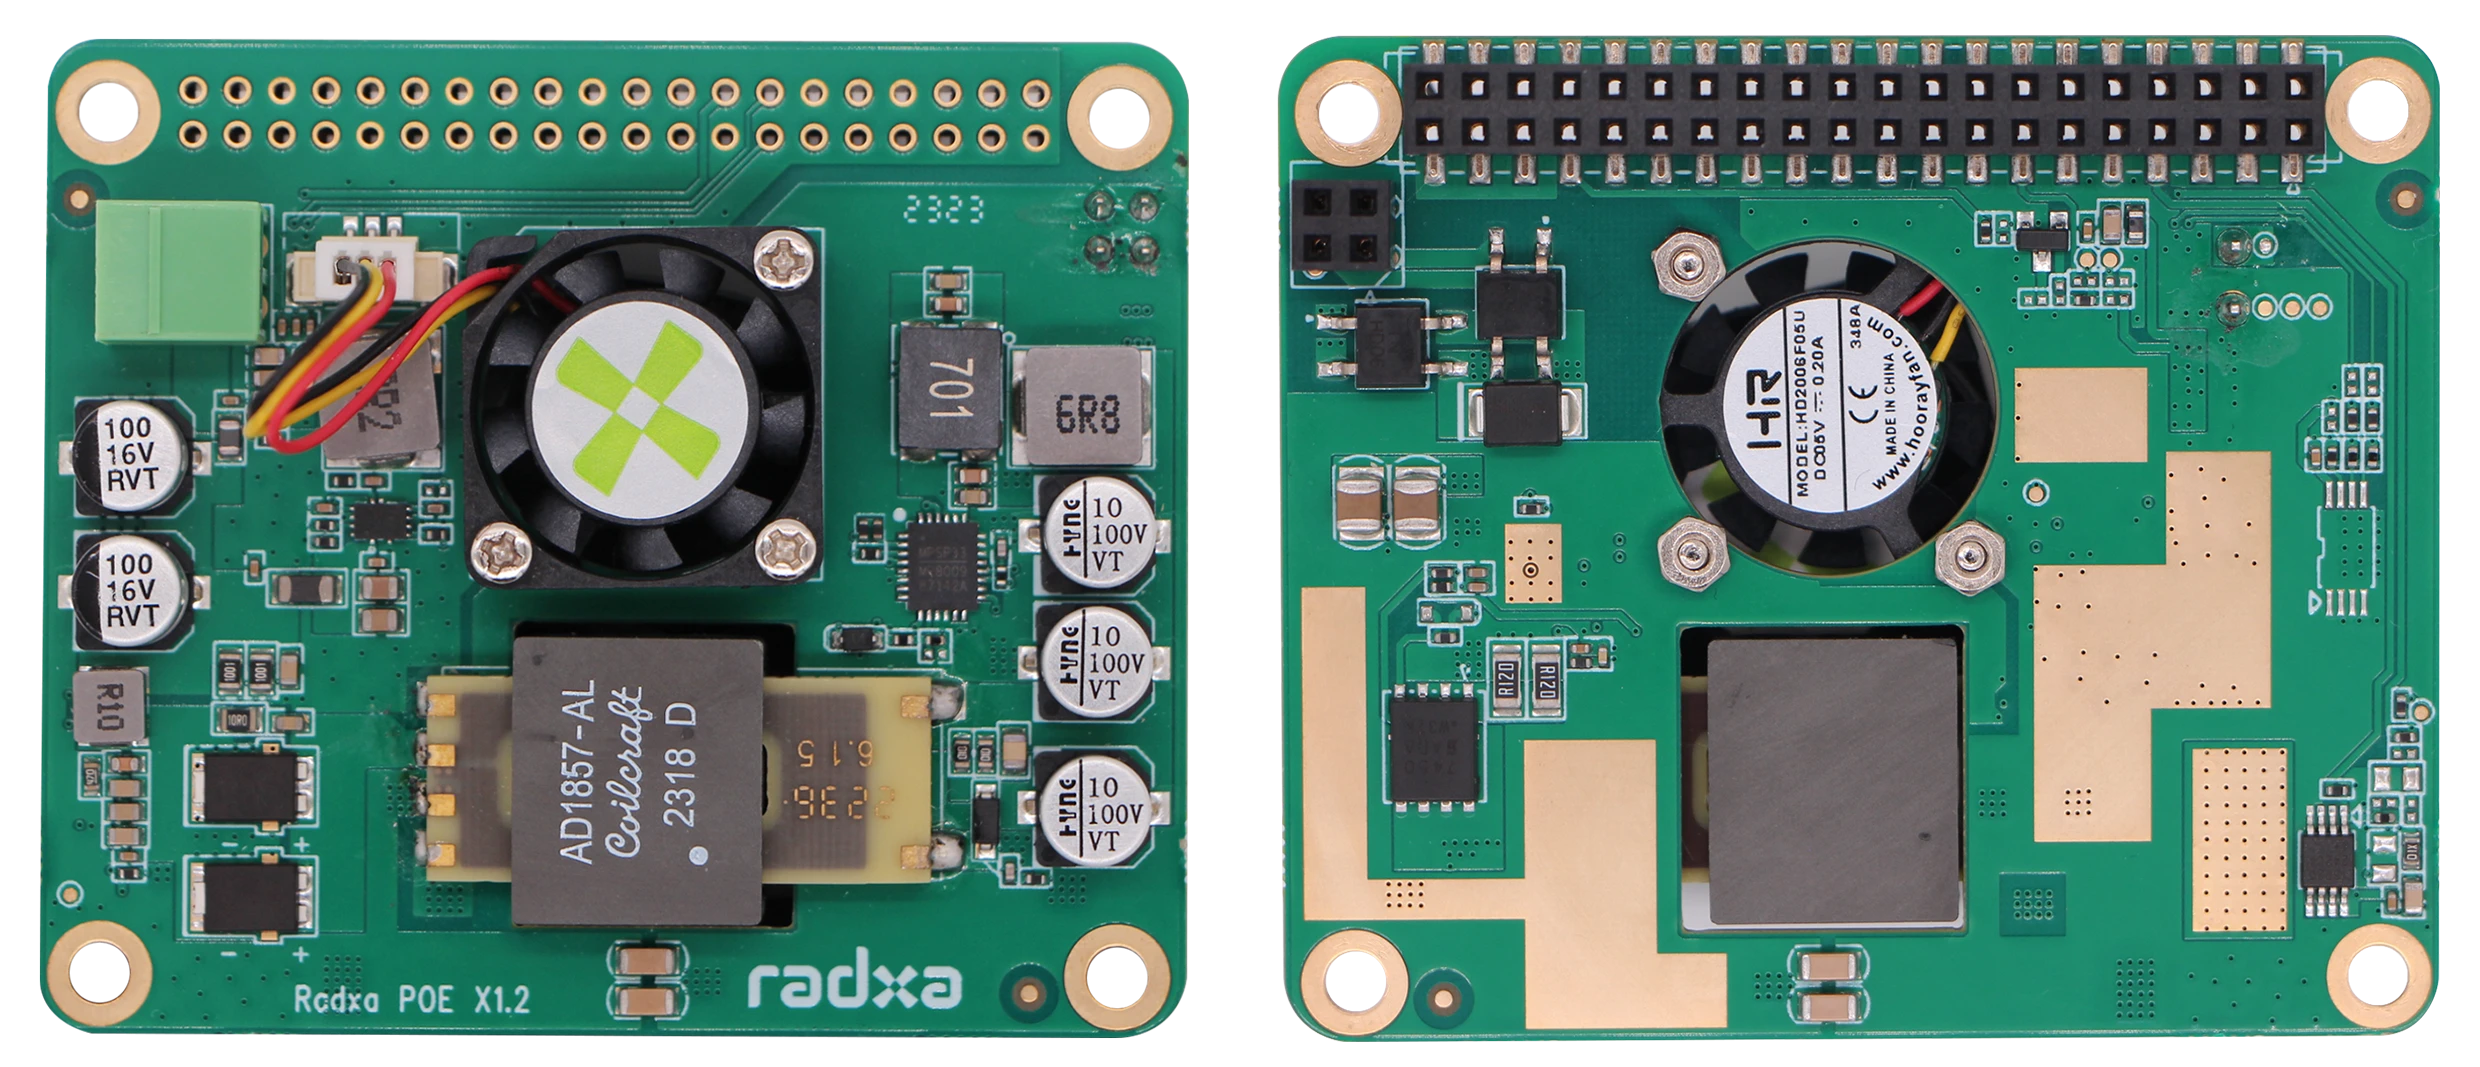
Radxa 25W PoE+ HAT
The Radxa 25W PoE HAT provides boot over Power over Ethernet support for compatible Radxa SBCs.
Requires the use of a compatible Power over Ethernet device.
Compatibility
Radxa 25W PoE HAT supports the following Radxa products:
- Radxa ROCK 3A
- Radxa ROCK 3B
- Radxa ROCK 3C
- Radxa ROCK 4C+
- Radxa ROCK 5A
- Radxa ROCK 5B
Features
- Compliant with IEEE 802.3af/at standards
- Wide input voltage range: 37V to 57V
- Output Voltage/Current: 5V / 4.8A, 12V / 2.1A
- When only a 5 load is connected, the PoE output is up to 5V DC / 4.8A
- When only a 12V load is connected, the PoE output is up to 12V DC / 2.1A
- Features a programmable temperature sensor
- Equipped with a customizable Cooling Fan delivering 1.45CFM for processor cooling
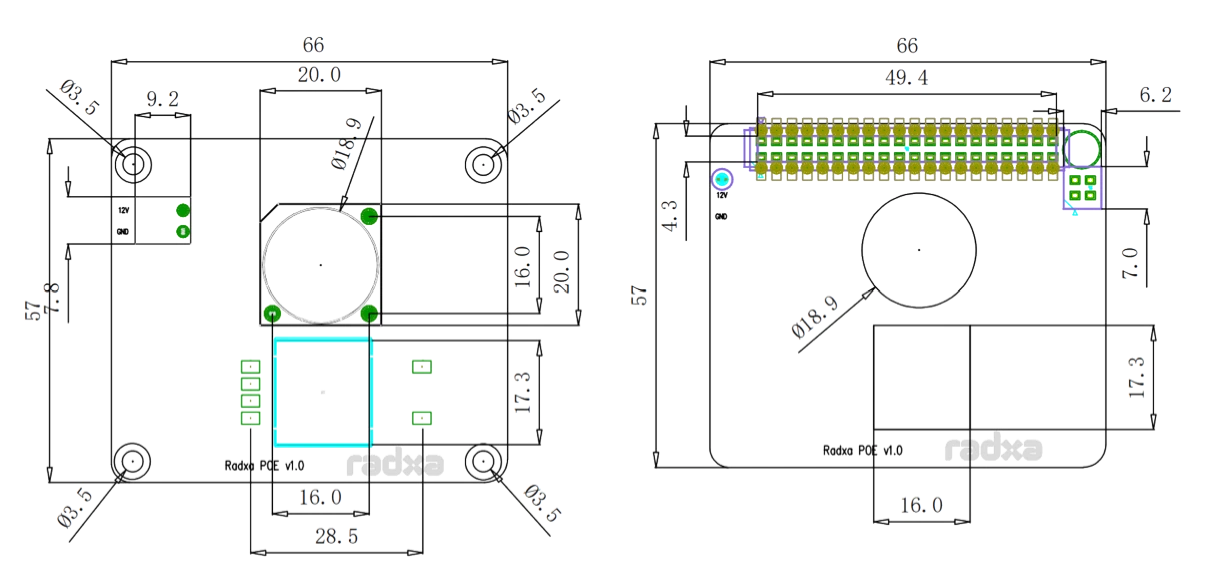
- Size: 20 x 20 mm
- Speed: 15000 ± 15%RPM
Mechanical Diagram
Usage
The package list of Radxa 25W PoE is as follows:

Usage steps:
- AccessPass four M2.5 x 4 Copper Pillars through the four positioning holes of Radxa SBCs, and individually secure them to M2.5 x 9 Copper Pillars to ensure a sturdy fixation.
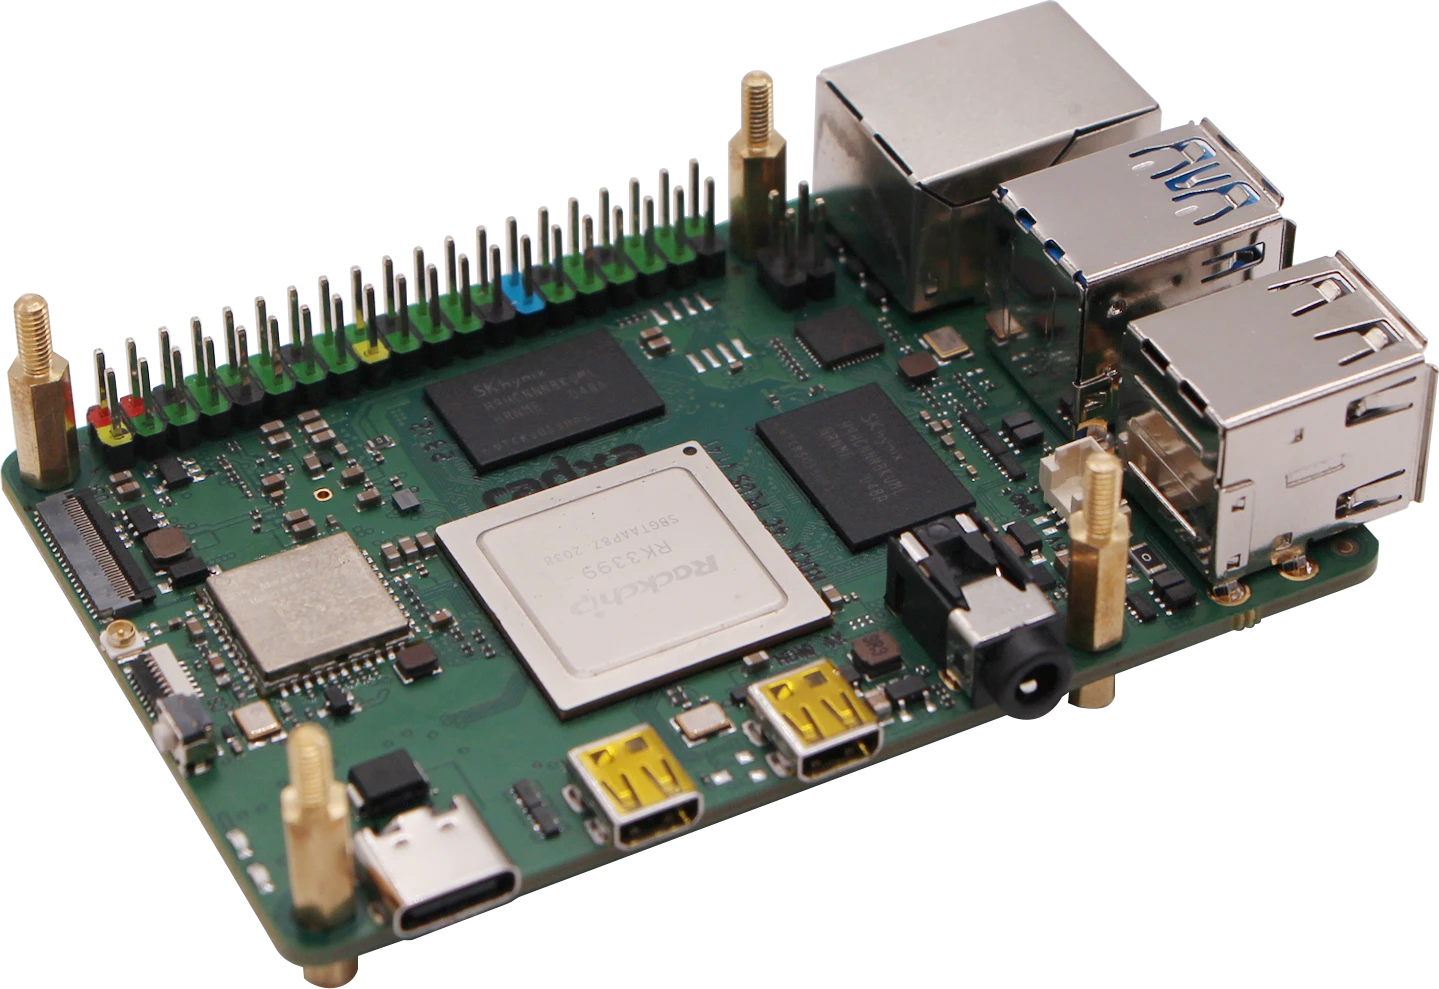
- Align the Radxa 25W PoE HAT with the PoE interface and the 40-Pin interface, and insert it carefully, ensuring that it passes through the four M2.5 x 9 Copper Pillars.

- On top of the Radxa 25W PoE HAT, align the four M2.5 x 4 Copper Pillars with the four M2.5 x 9 Copper Pillars, then secure them by rotating them into place. The following is the Illustrated Outcome:
- ROCK 5A, ROCK 4C+
- ROCK 5B, ROCK 3B
- ROCK 3A, ROCK 3C


- Enable 25W PoE Overlay
If you need to enable the temperature control fan and temperature sensor, you need to enable the corresponding Overlay.
Please refer to Device Tree Configuration to enable the overlay named "Enable Radxa 25W PoE HAT".
[*] Enable Radxa 25W PoE HAT
Finally, reboot the device to load the Overlay.
If you cannot find the corresponding Overlay in rsetup, please use rsetup -> system-update to first perform a system update and then perform the above.
- Checking Temperature Sensor Readings
After executing the following command, the second line outputs t=XXYYYY which is the current temperature (XX.YYY degrees Celsius):
cat /sys/bus/w1/devices/28-*/w1_slave