Raspberry Pi 5 Use Penta HAT
The Raspberry Pi 5 has a PCIe port that works well with the Radxa Penta SATA HAT.
Power supply selection
Penta SATA HAT is equipped with a DC interface (socket specification is outer diameter 5.5mm, inner diameter 2.5mm, center is positive) and a D-shaped 4PIN interface. When used with Raspberry Pi 5, it supports three power supply modes to adapt to different usage scenarios:
- Use a Type-C adapter to power the Raspberry Pi 5
- Use a DC 12V adapter to power the Penta SATA HAT
- Use a D-shaped 4PIN from an ATX or SFX power supply to power the Penta SATA HAT
The choice of which power supply method to use depends on the number of hard drives we install and other external devices we need to use, such as U disks and fans. The Raspberry Pi 5 has a power consumption of about 8 watts under high load. Typical hard disk power consumption is as follows:
| Hard disk type | Power consumption |
|---|---|
| 2.5-inch SSD | Less than 3W |
| 2.5-inch HDD | 3-5W |
| 3.5-inch HDD | 5-10W |
We can choose the appropriate power supply method according to the type and number of hard disks installed. Here are two examples:
- If we install 2 2.5-inch solid-state drives and there are no other external devices on the Raspberry Pi 5, we can use a Type-C adapter for power, such as the Raspberry Pi official 27W PD adapter, which should meet the power supply requirements.
- If we install 4 3.5-inch mechanical hard drives, considering the power consumption of the Raspberry Pi 5 itself, the total power consumption of the entire kit may exceed 50W. At this time, we can use a DC 12V adapter for power, such as a 12V/5A adapter. Or use a D-shaped 4PIN from an ATX/SFX power supply, D-shaped 4PIN interface generally can provide a larger power.
- Please do not use two or more power supply methods at the same time.
- If you need to use the eSATA interface, you need to use a DC 12V adapter or ATX/SFX power supply.
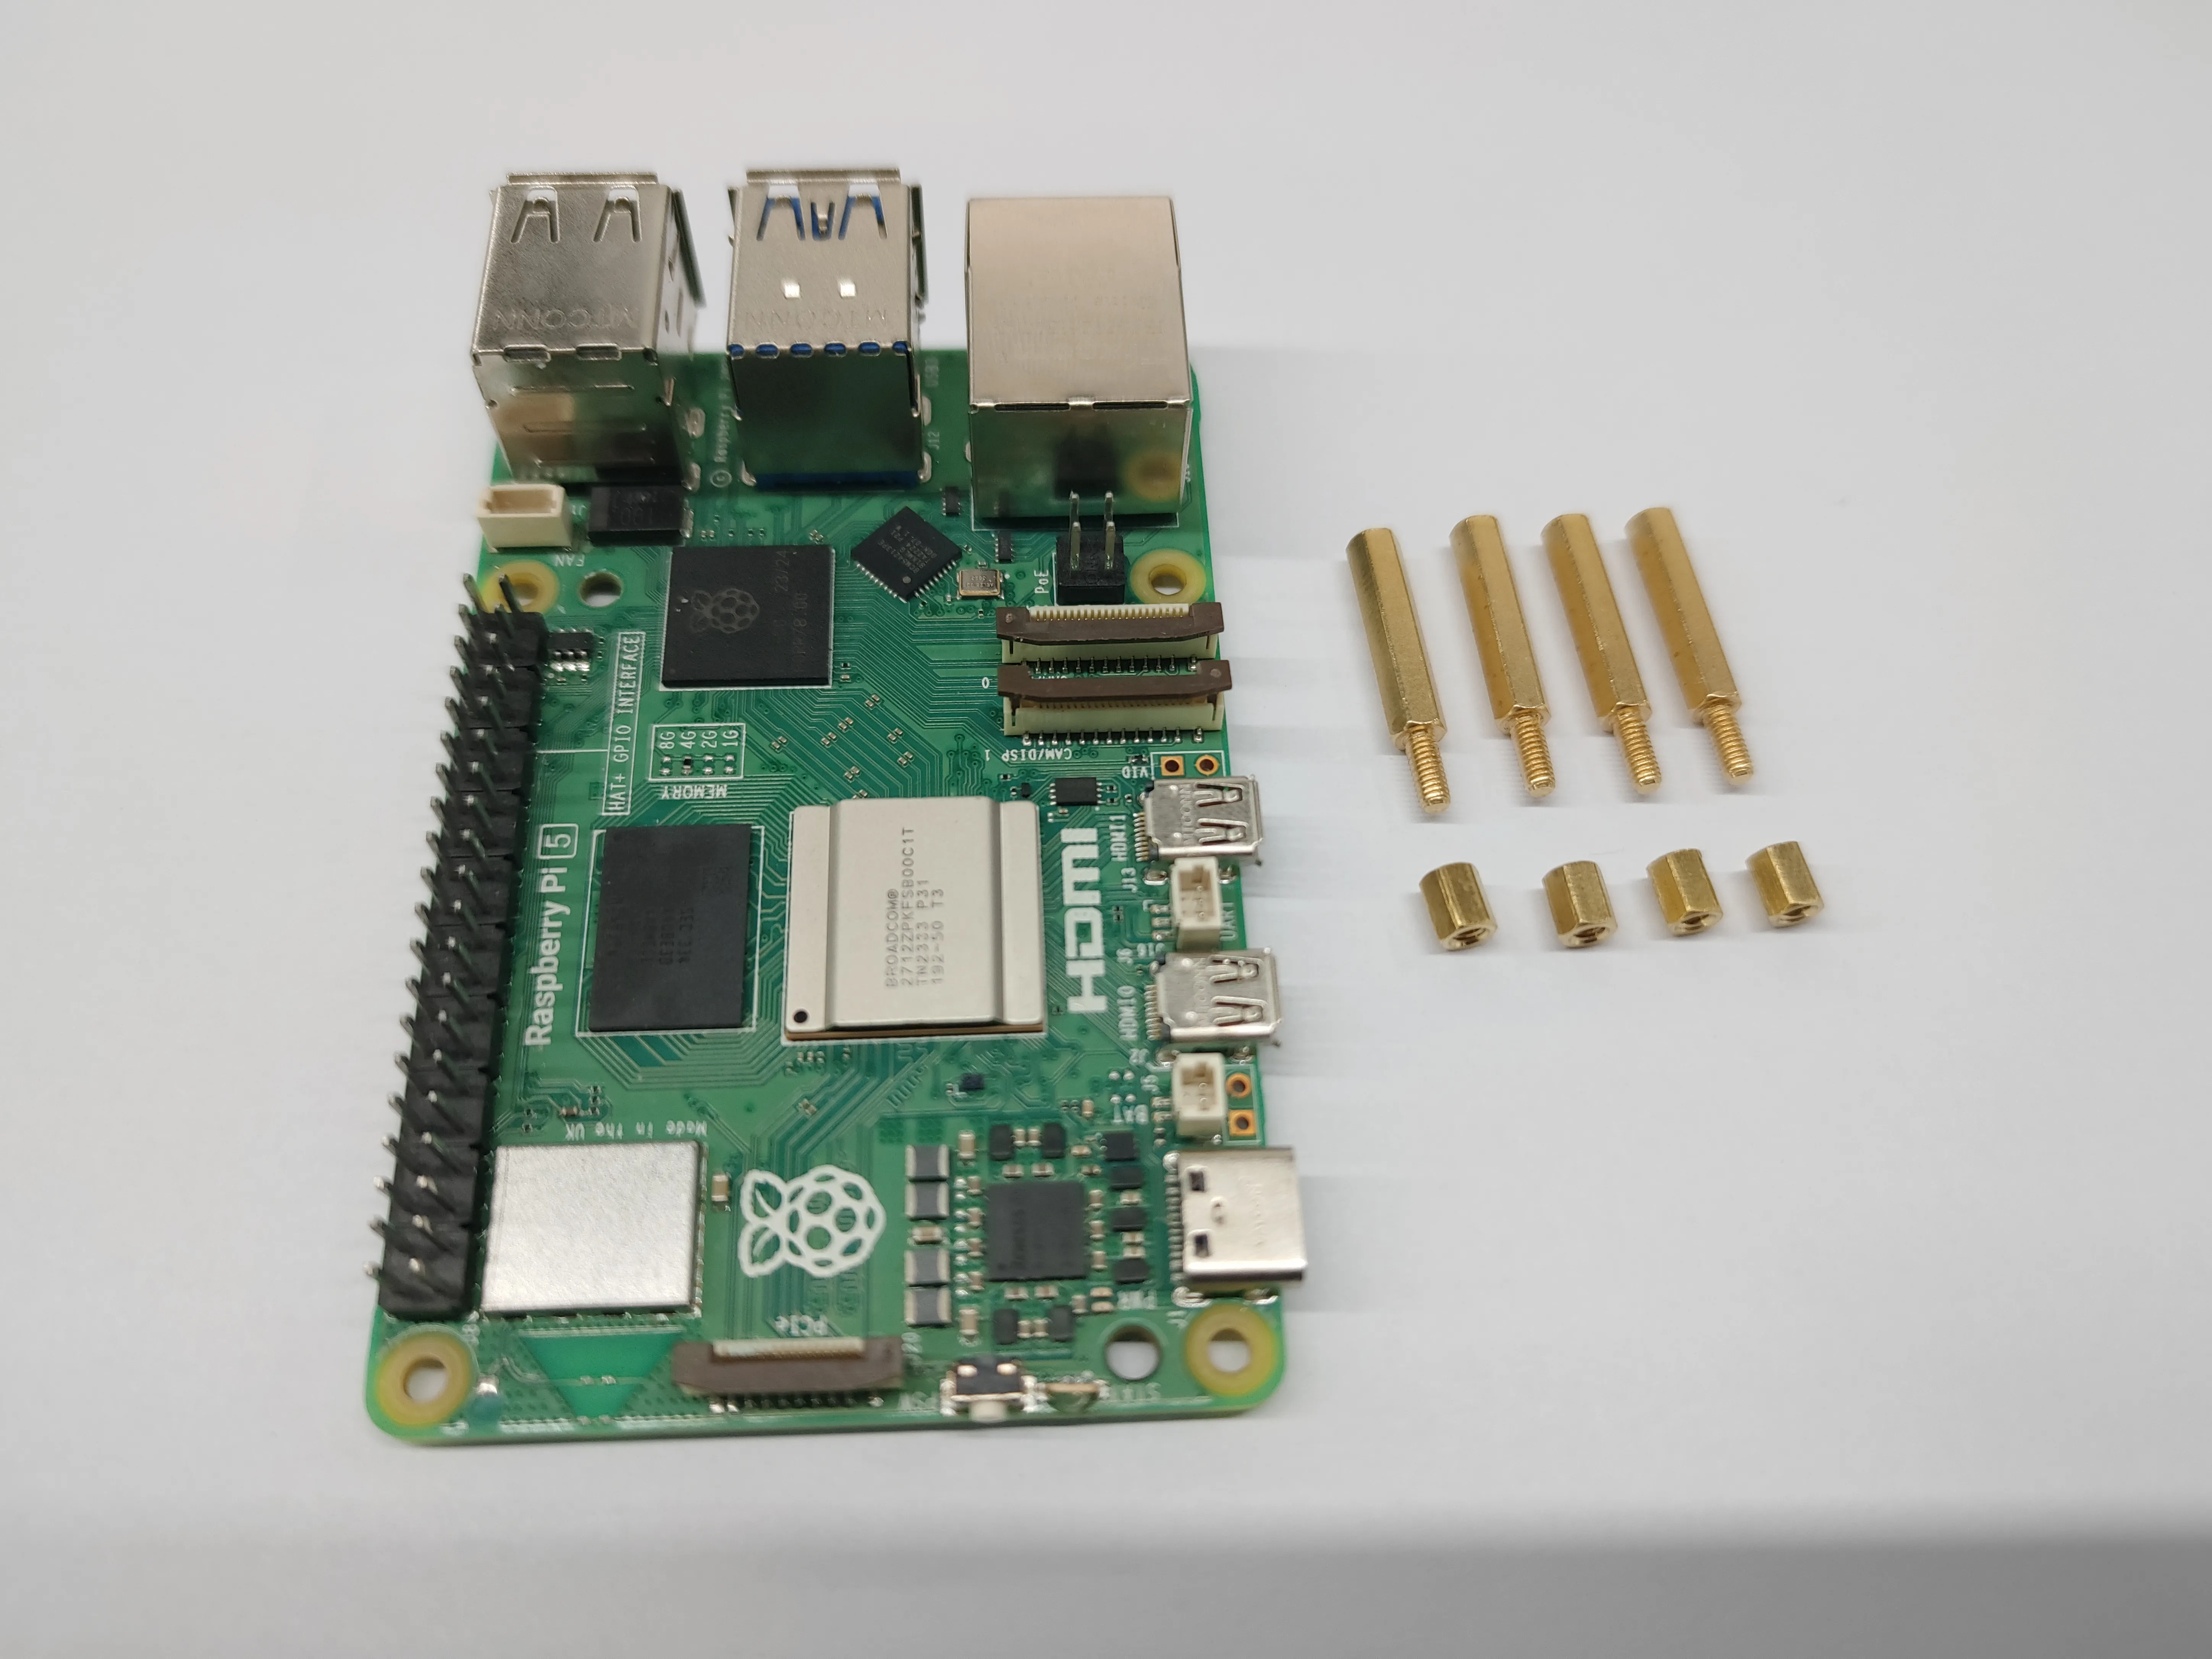
Assemble
Please assemble in the order shown in the picture below.
-
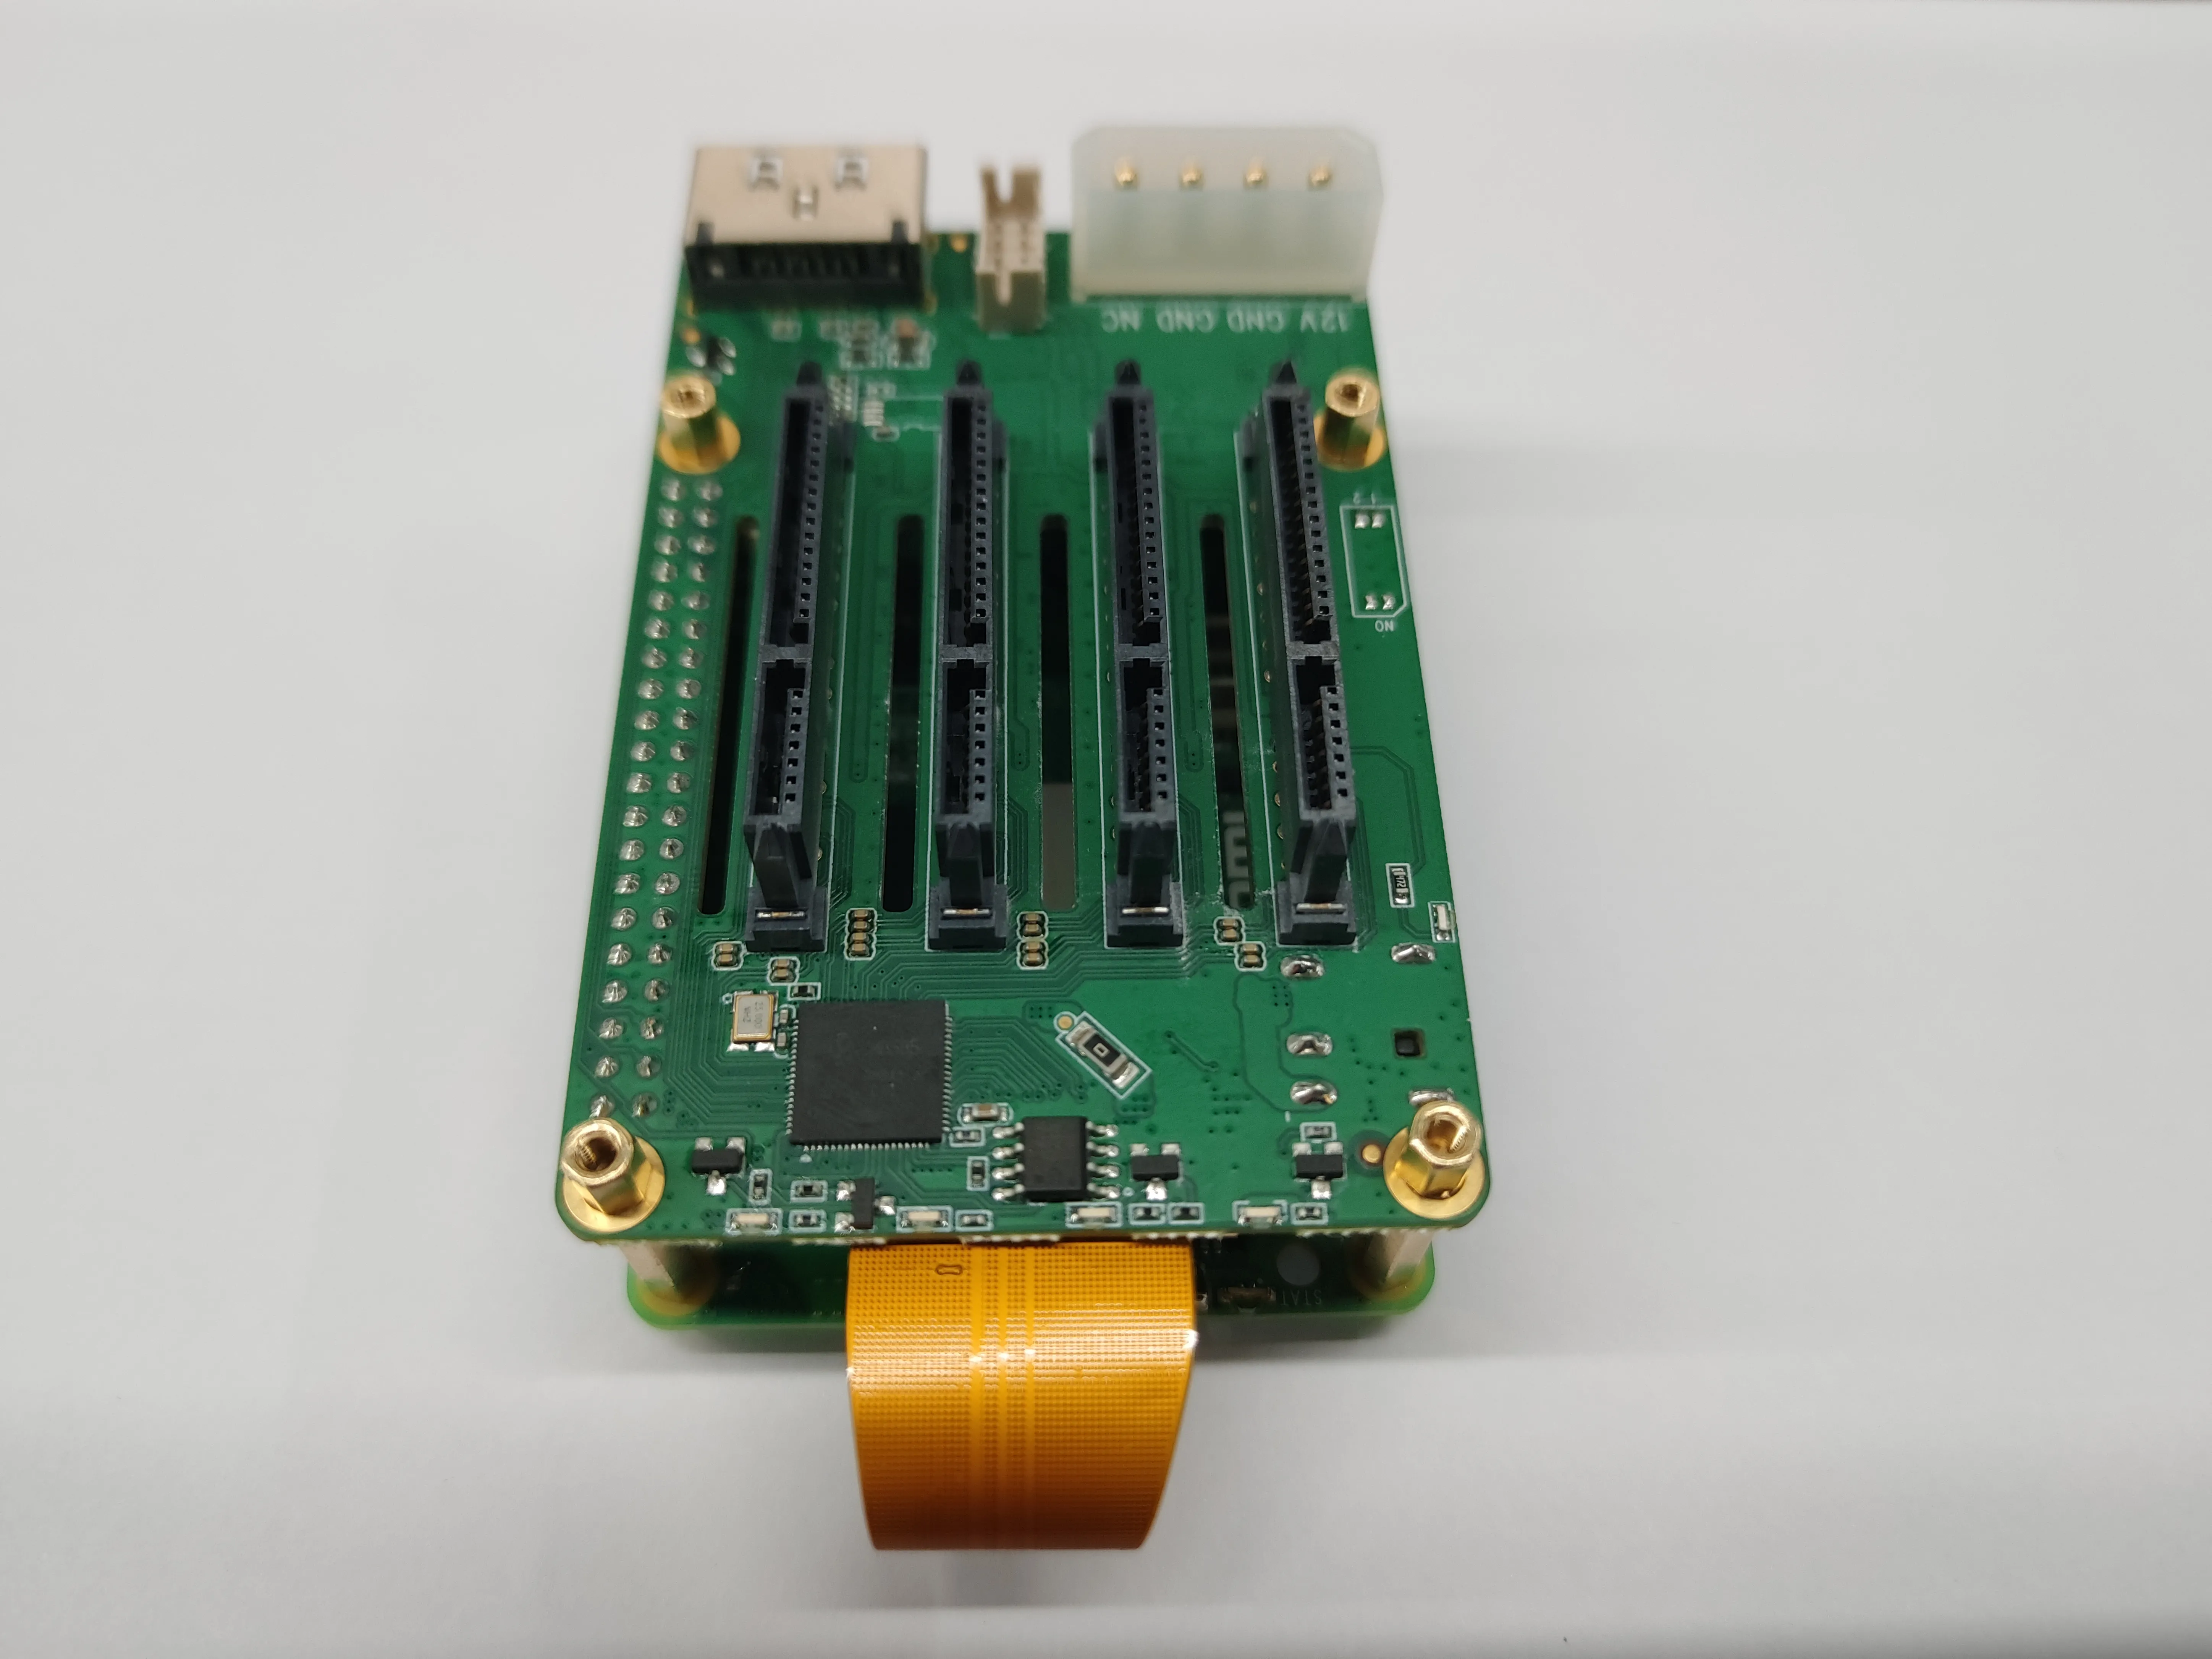
Installing column
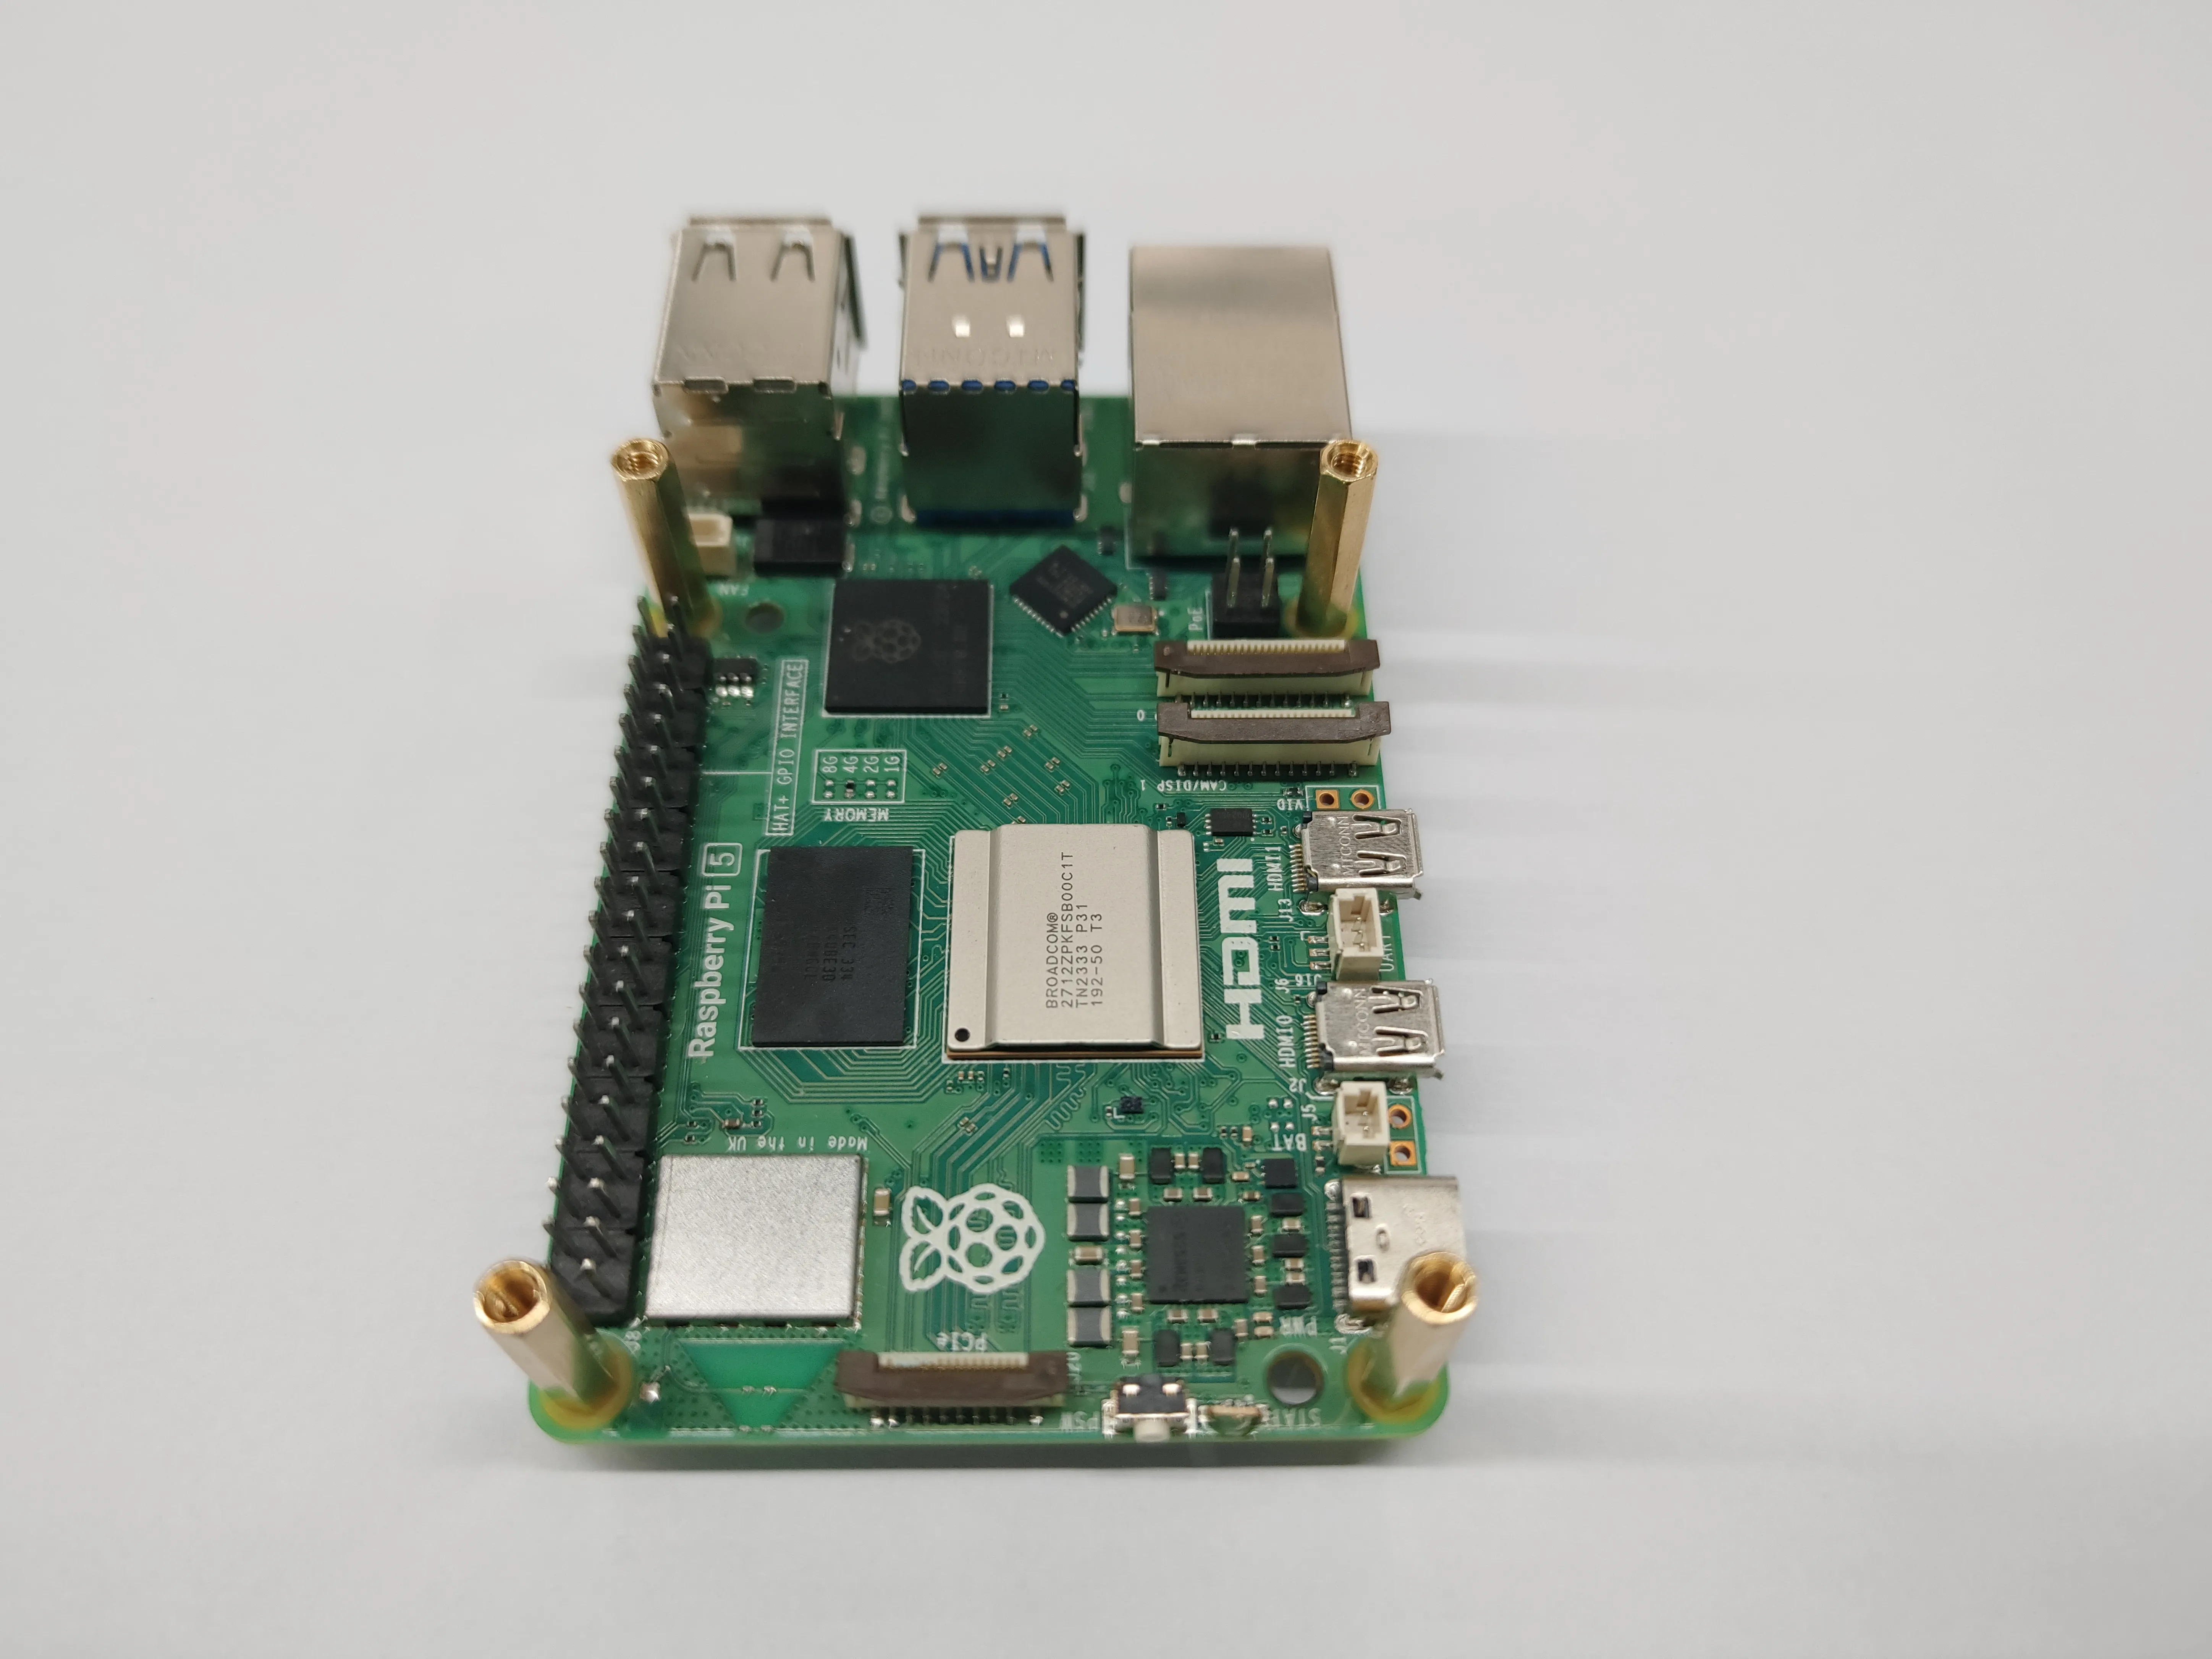
-
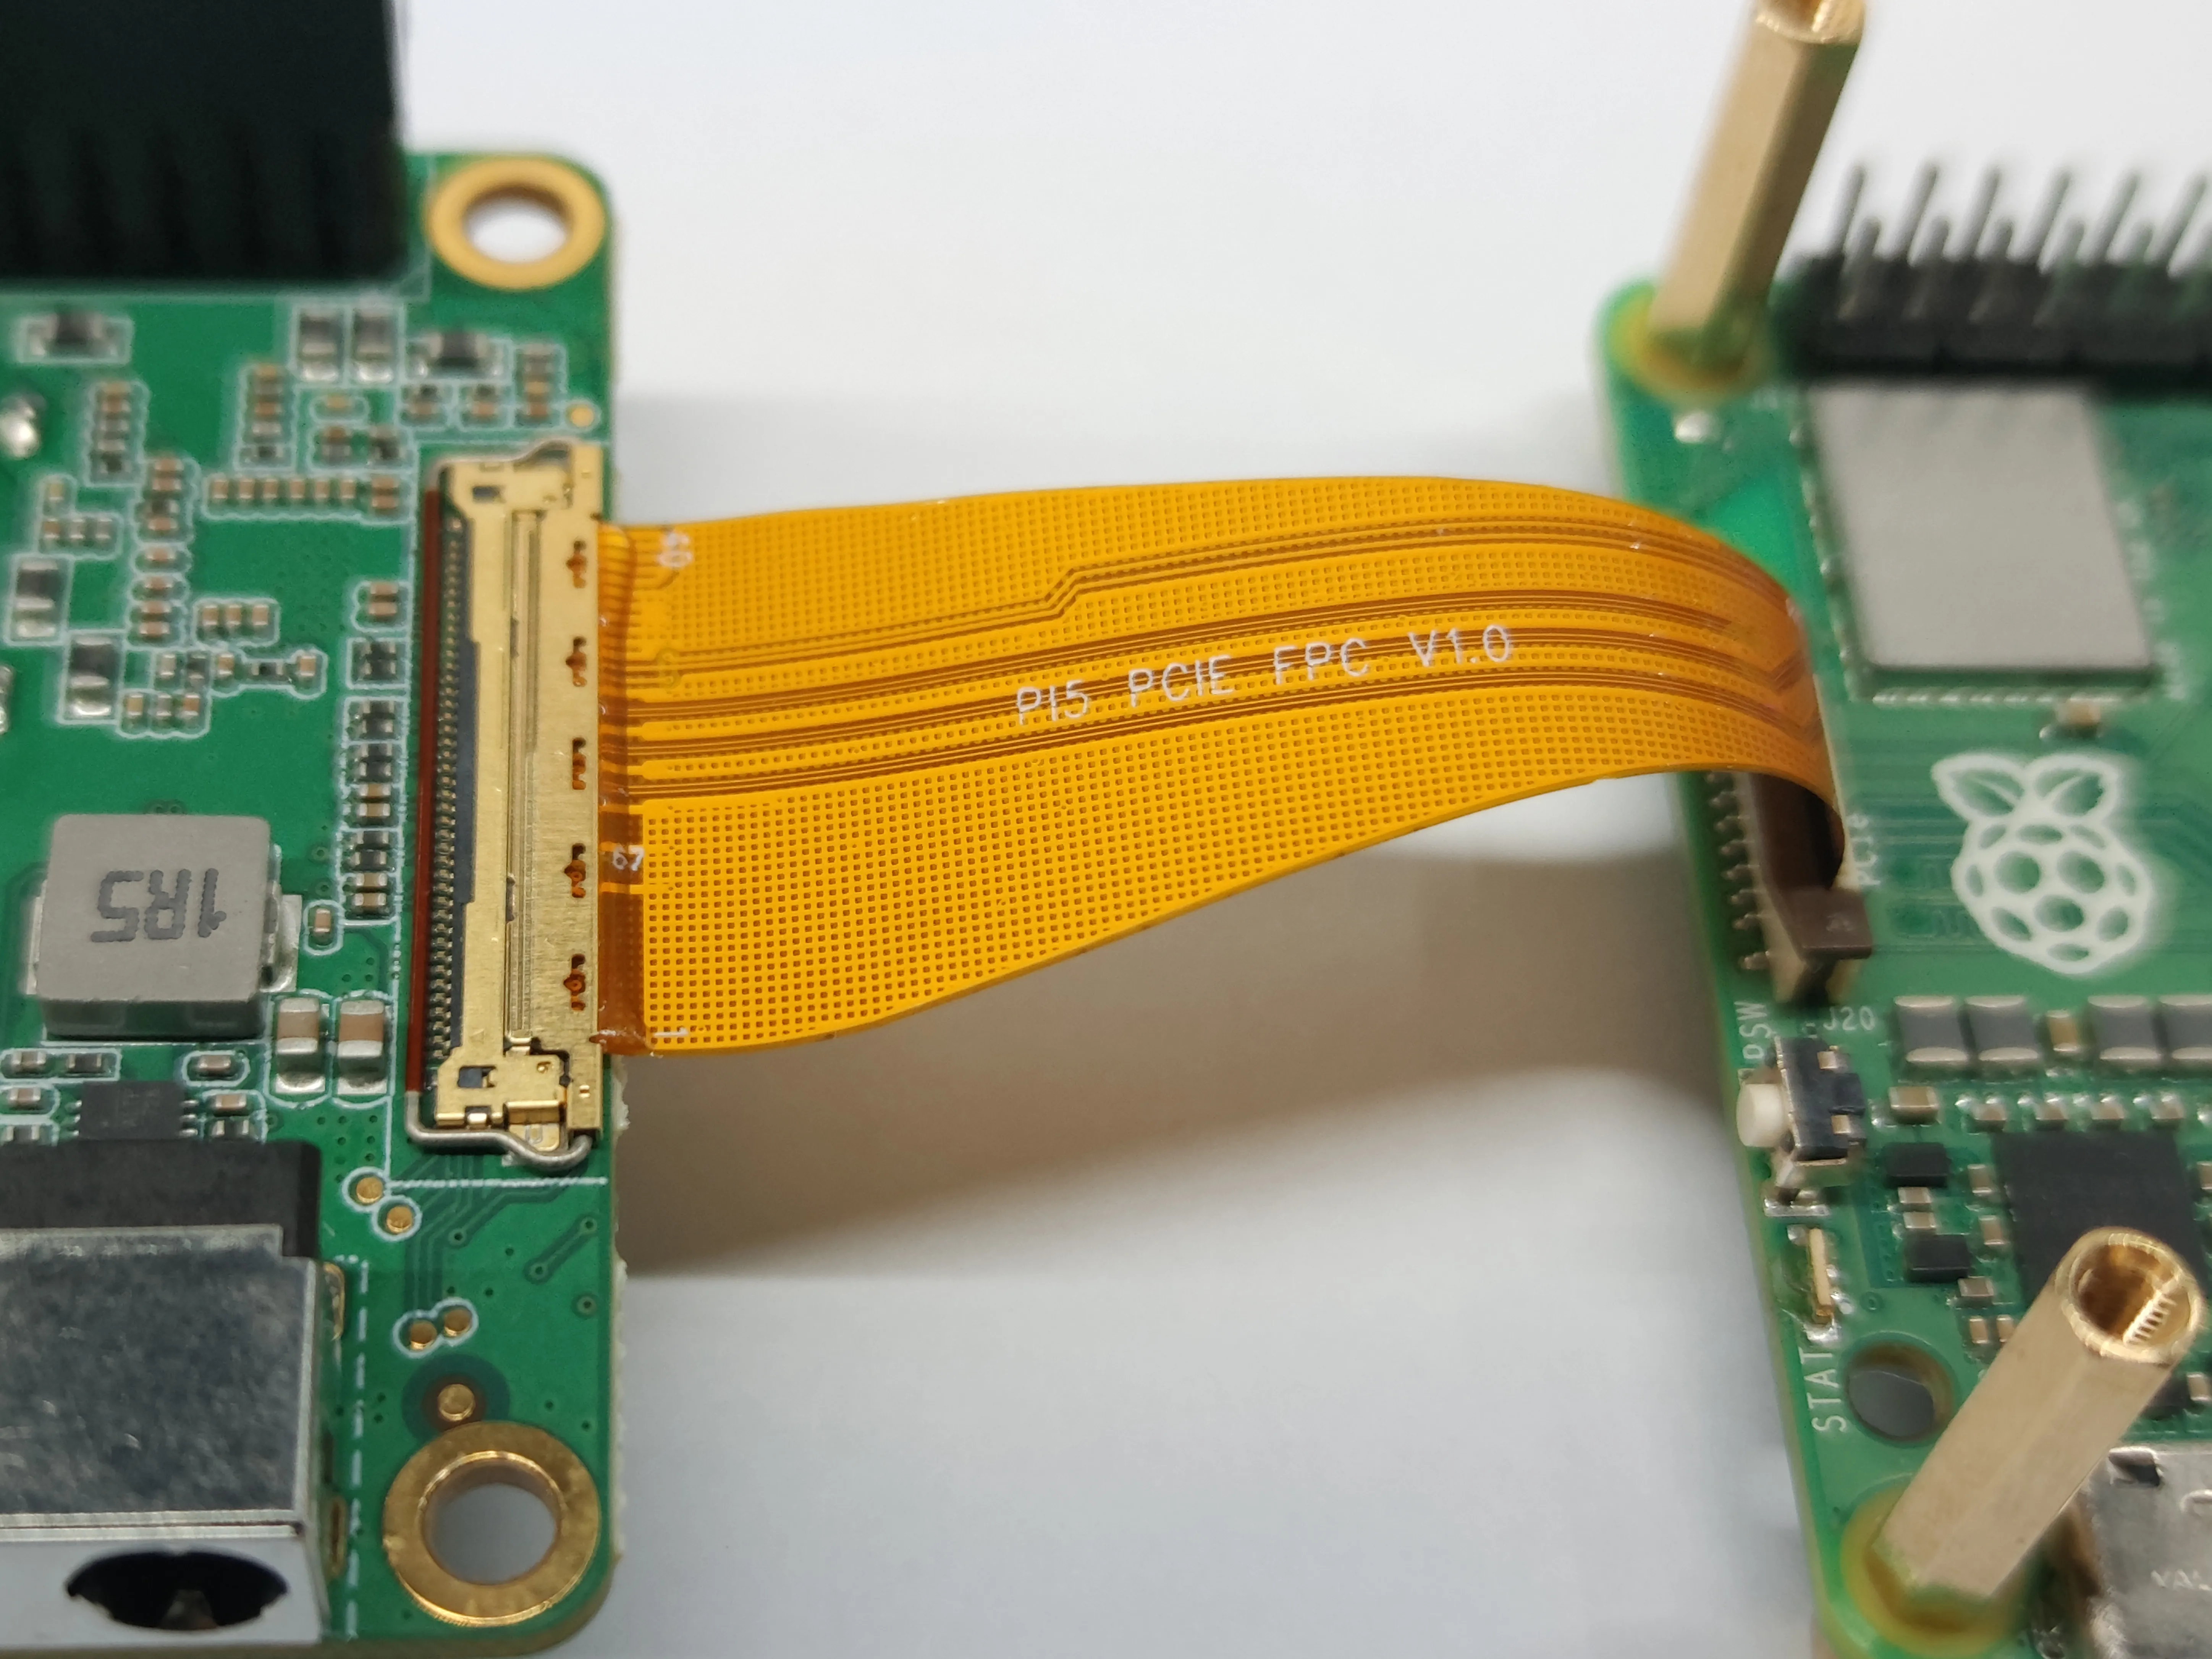
Installing an FPC
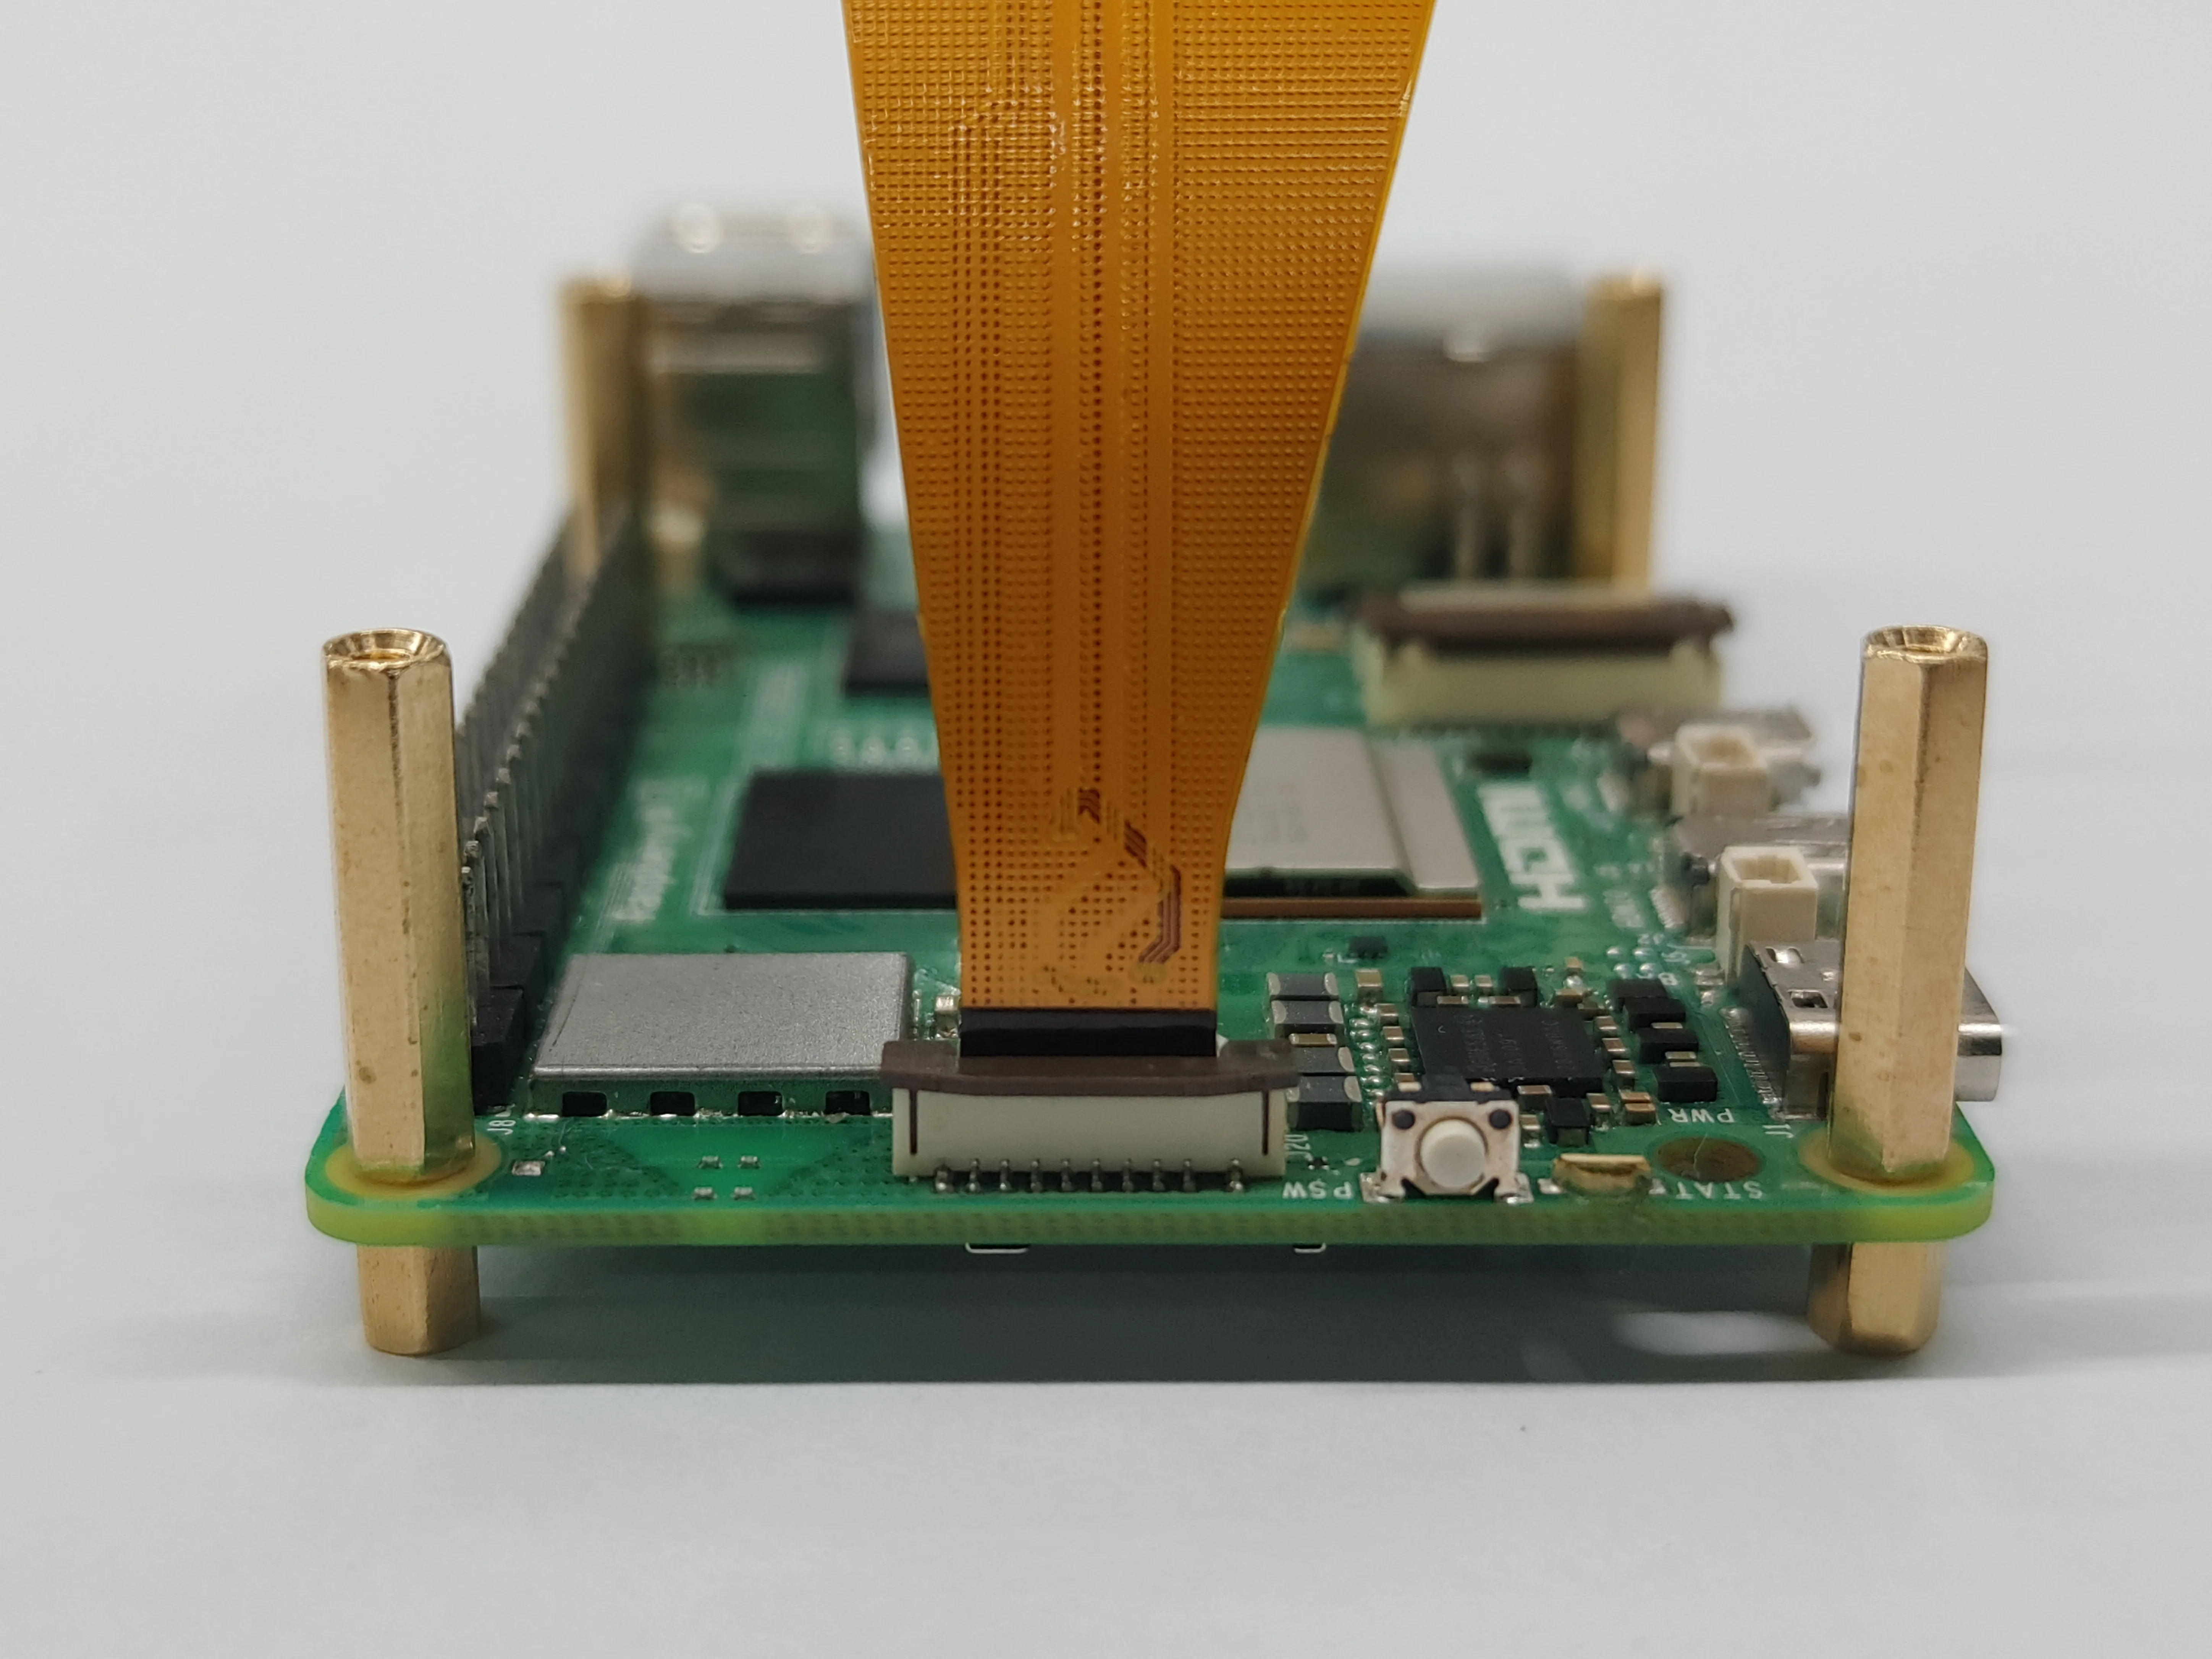 Please note that the black side of the FPC is facing us.
-
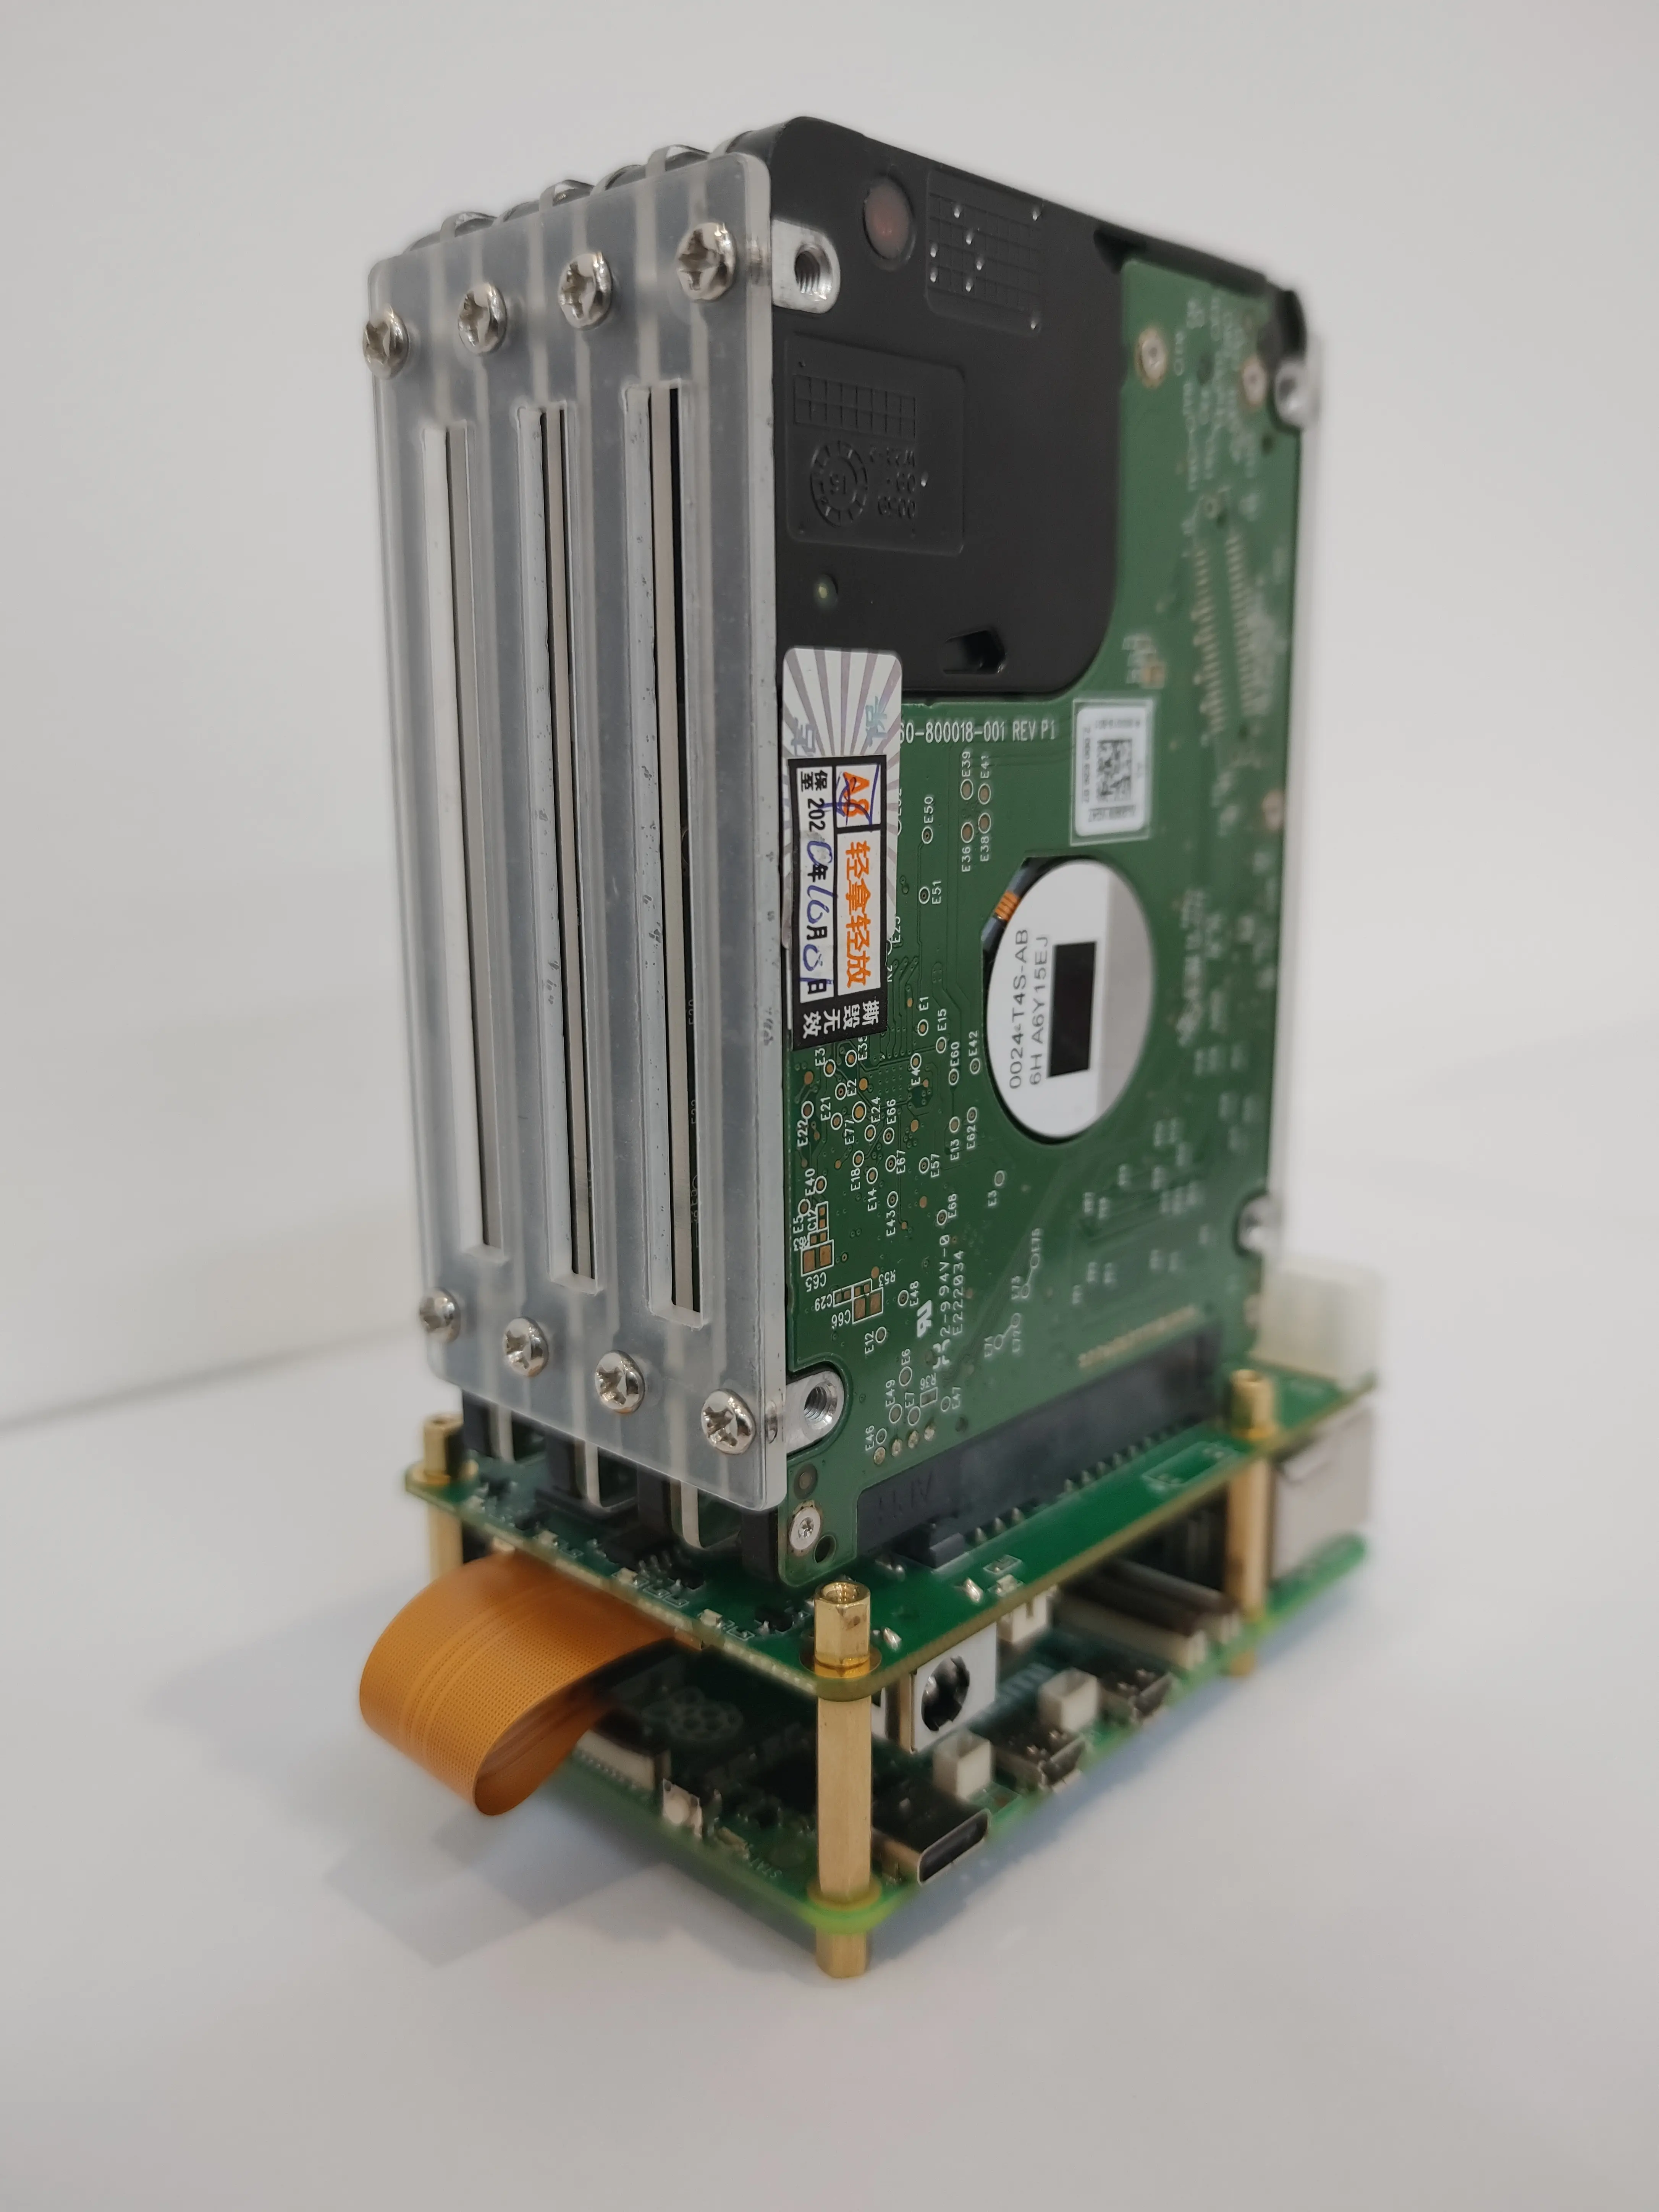
Put together
-
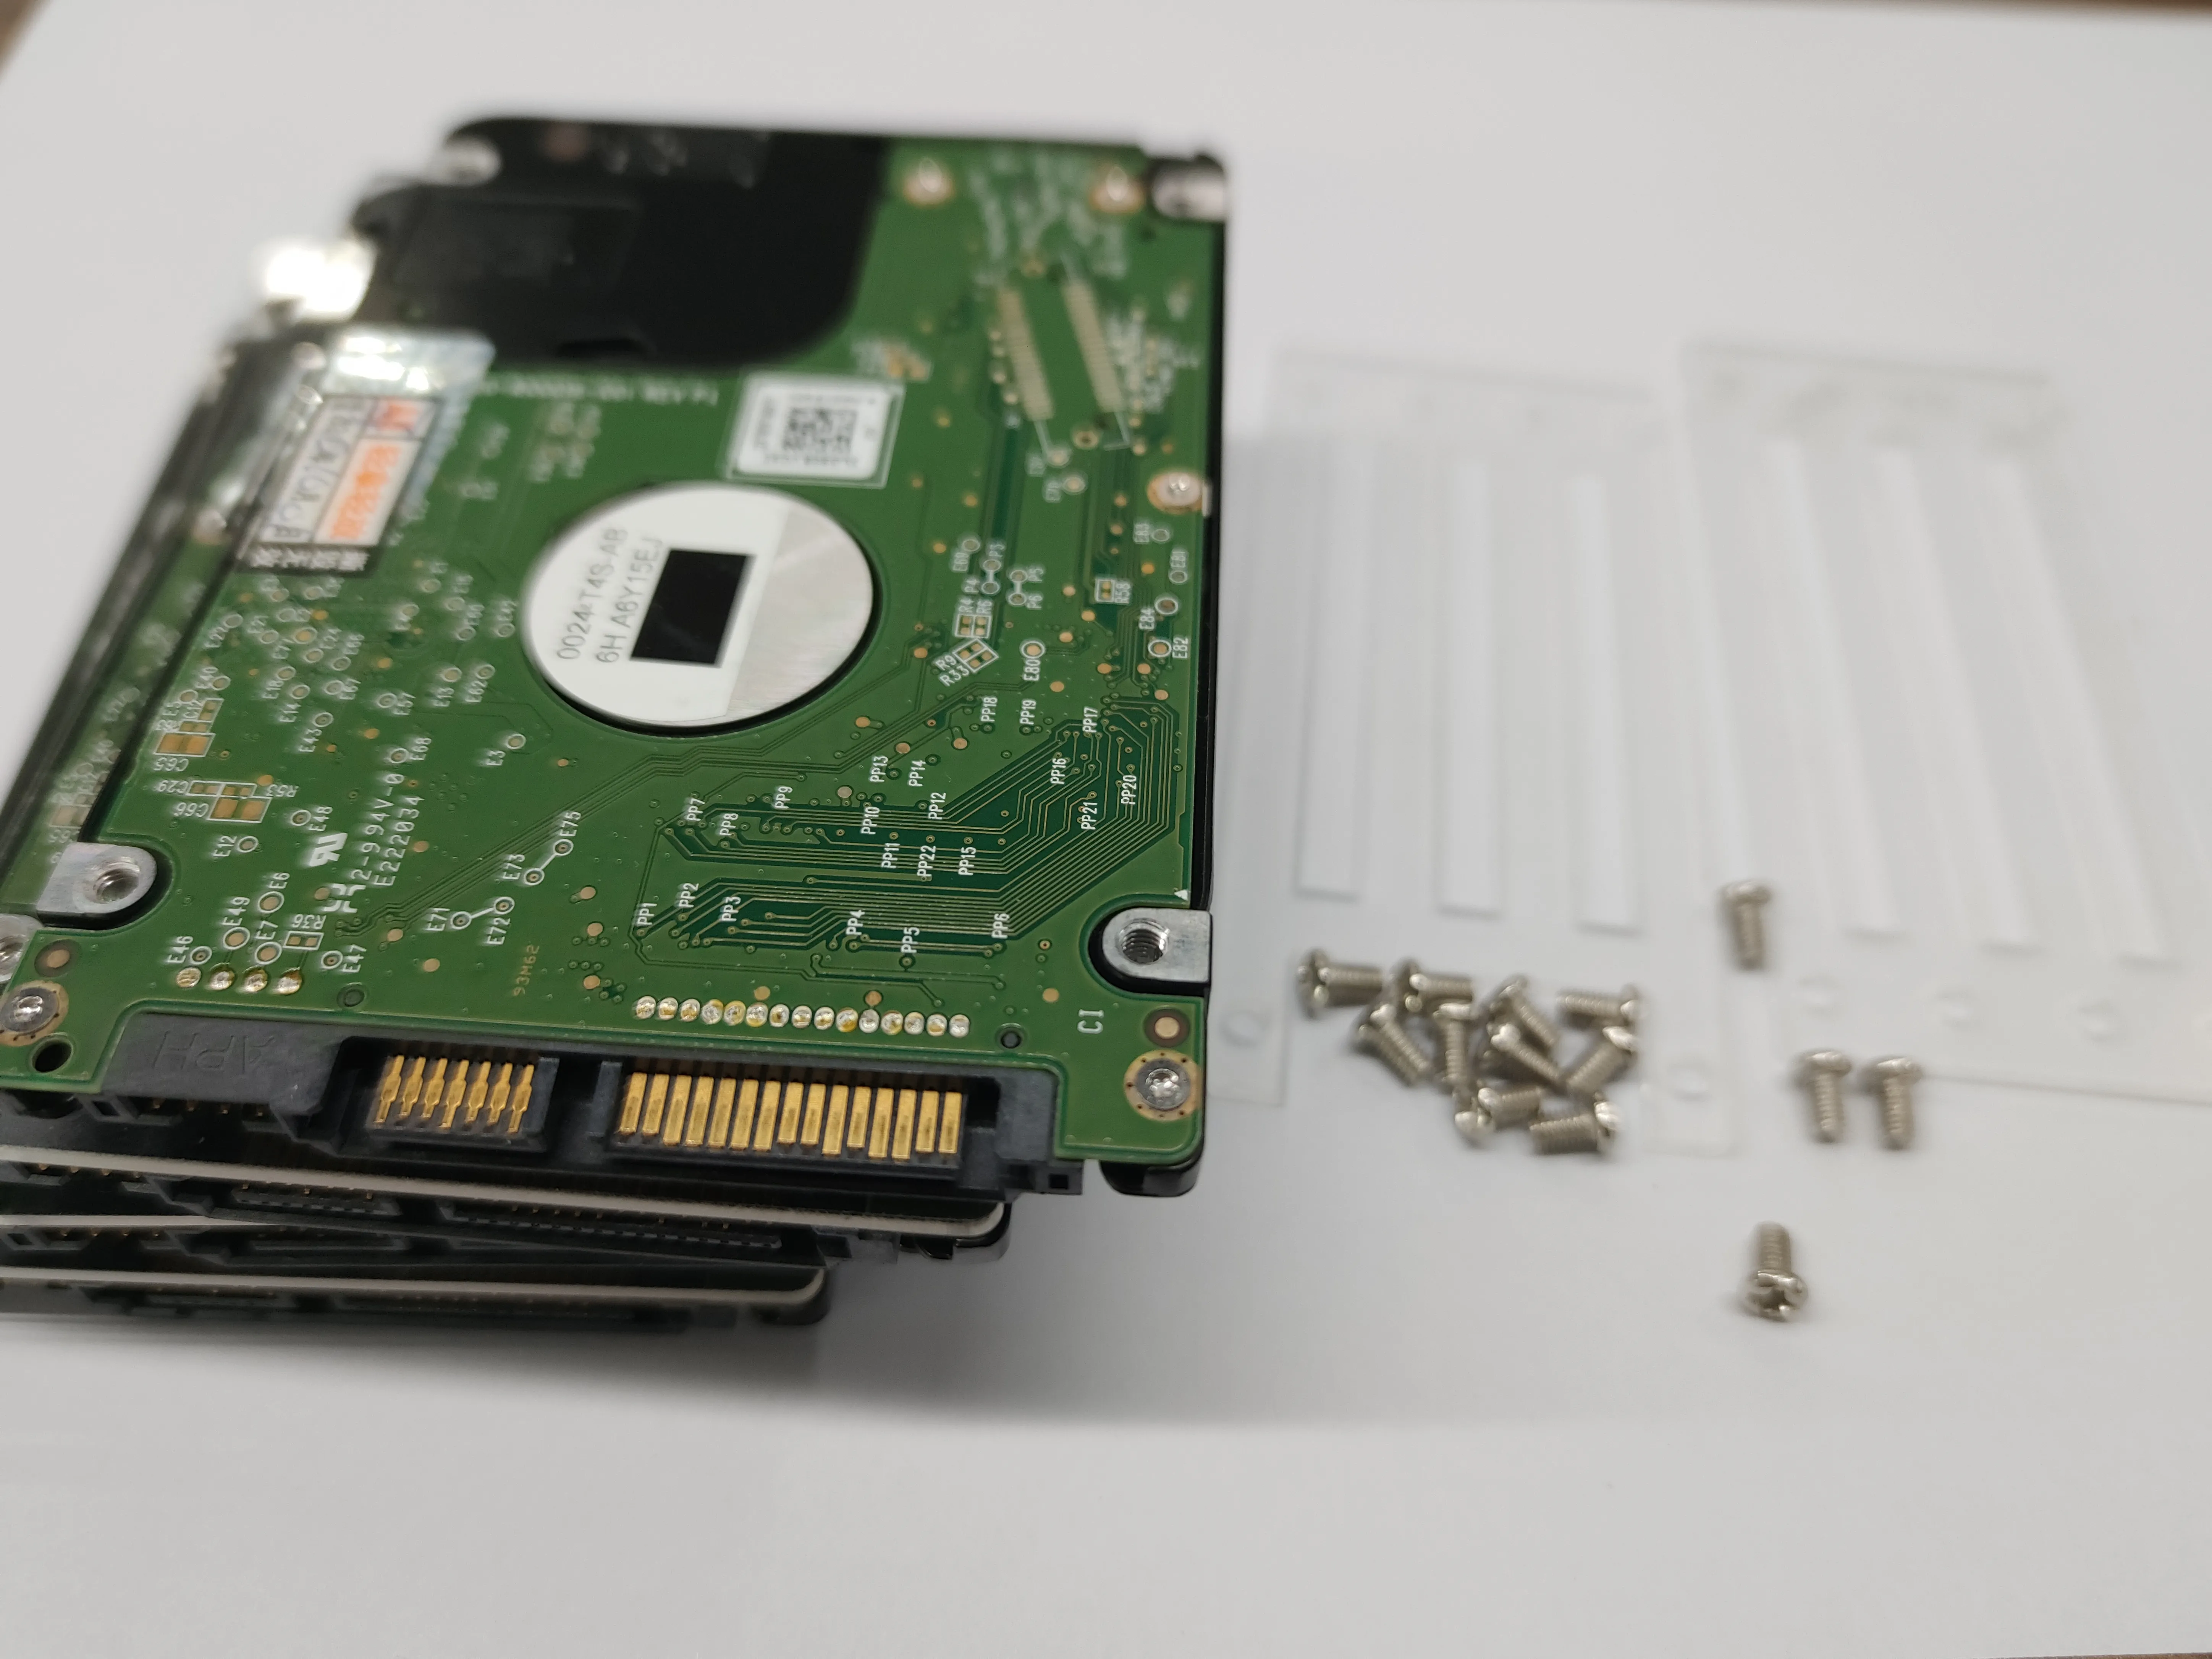
Installing disks

Install the system
Please go to https://www.raspberrypi.com/software/ to download Raspberry Pi Imager and install. Insert the microSD card into the USB port on your computer.
-
Open Raspberry Pi Imager
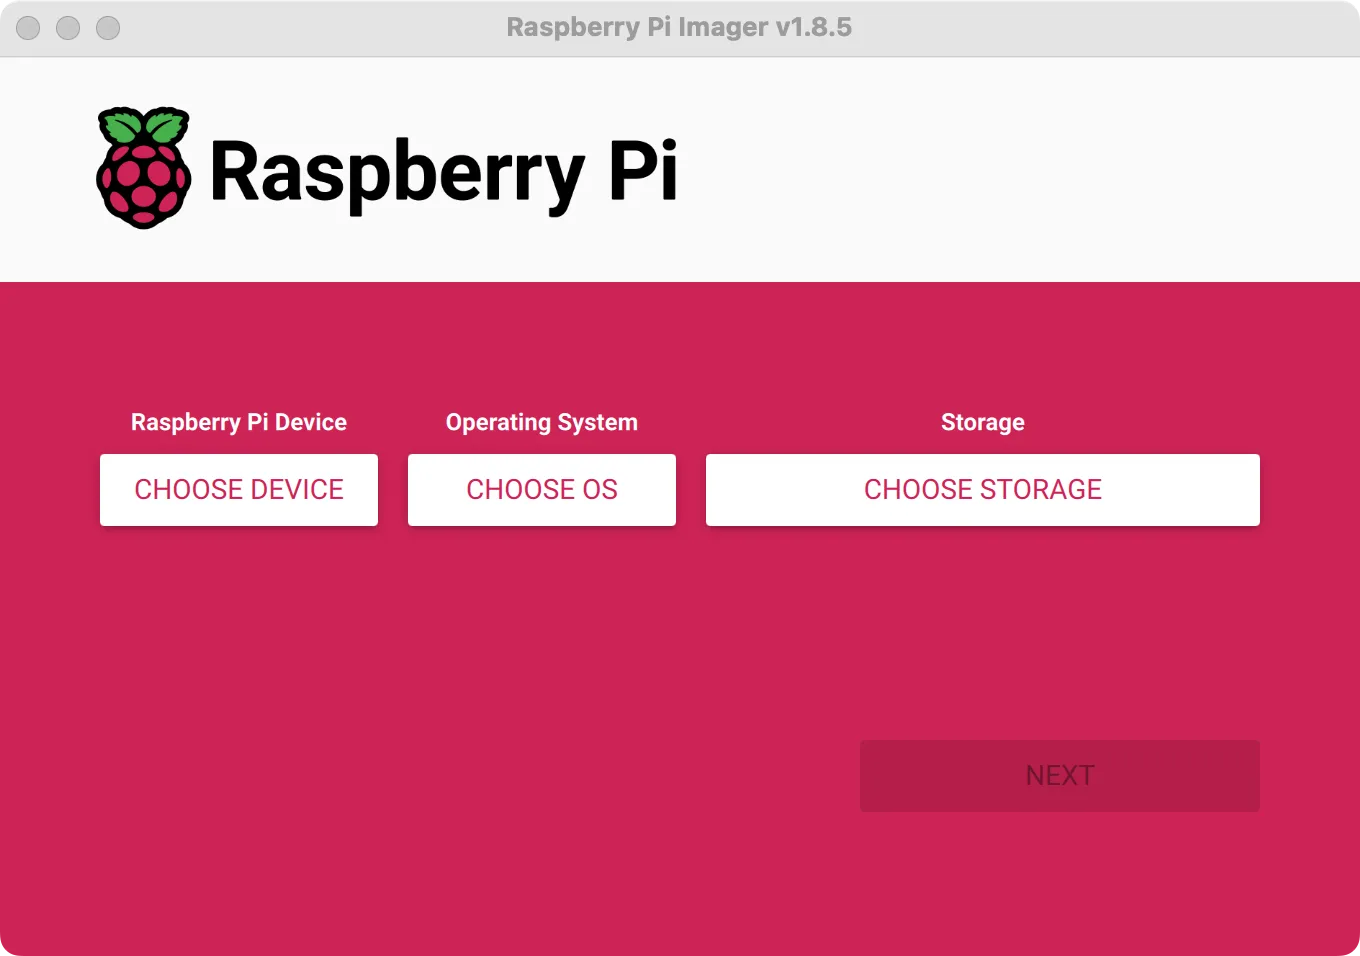
-
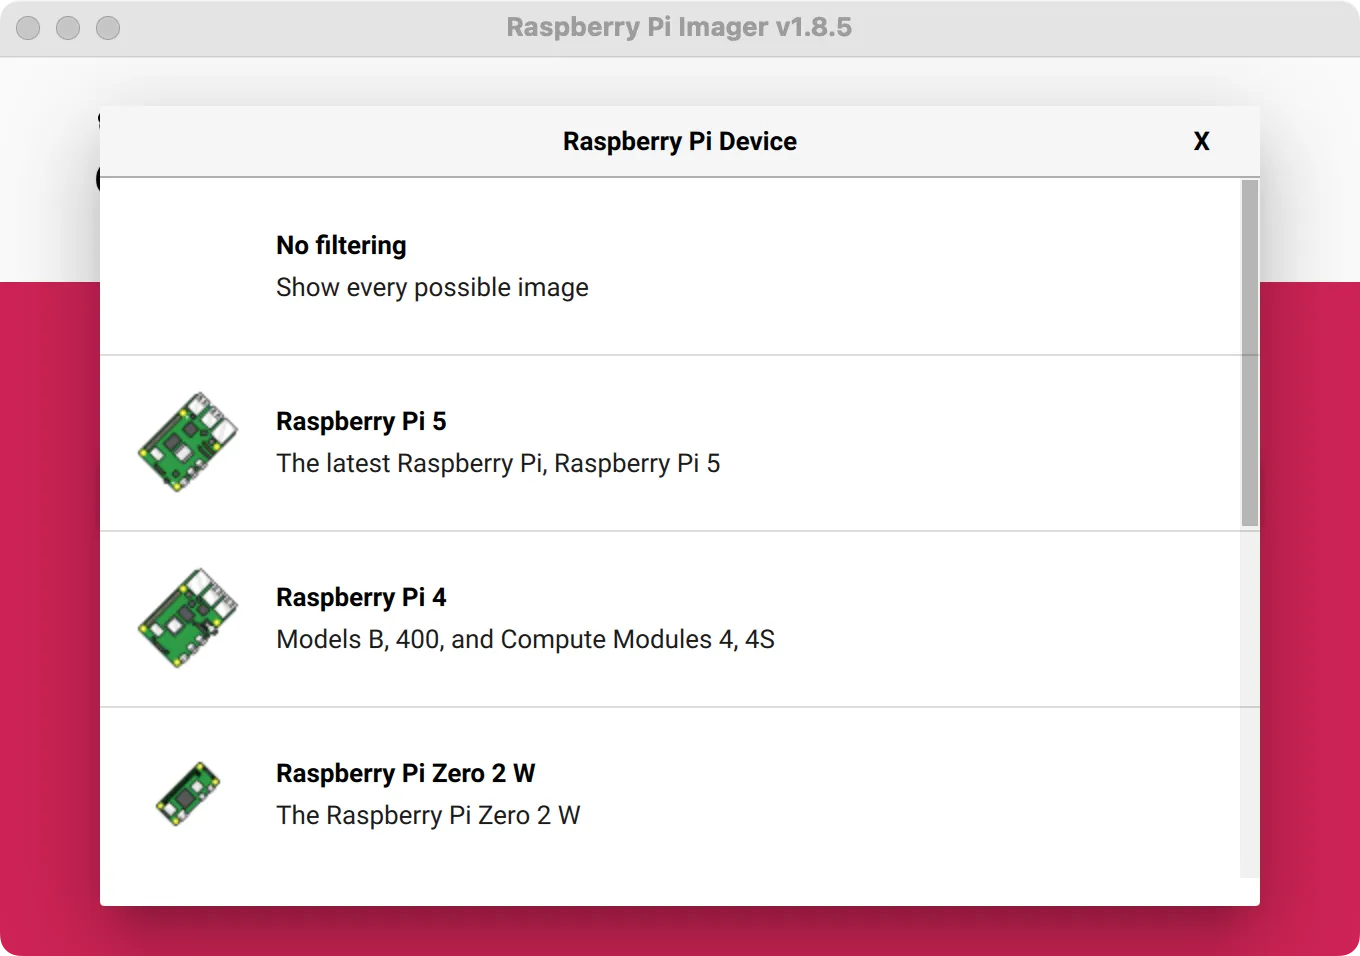
Select the device, and select Raspberry Pi5
-
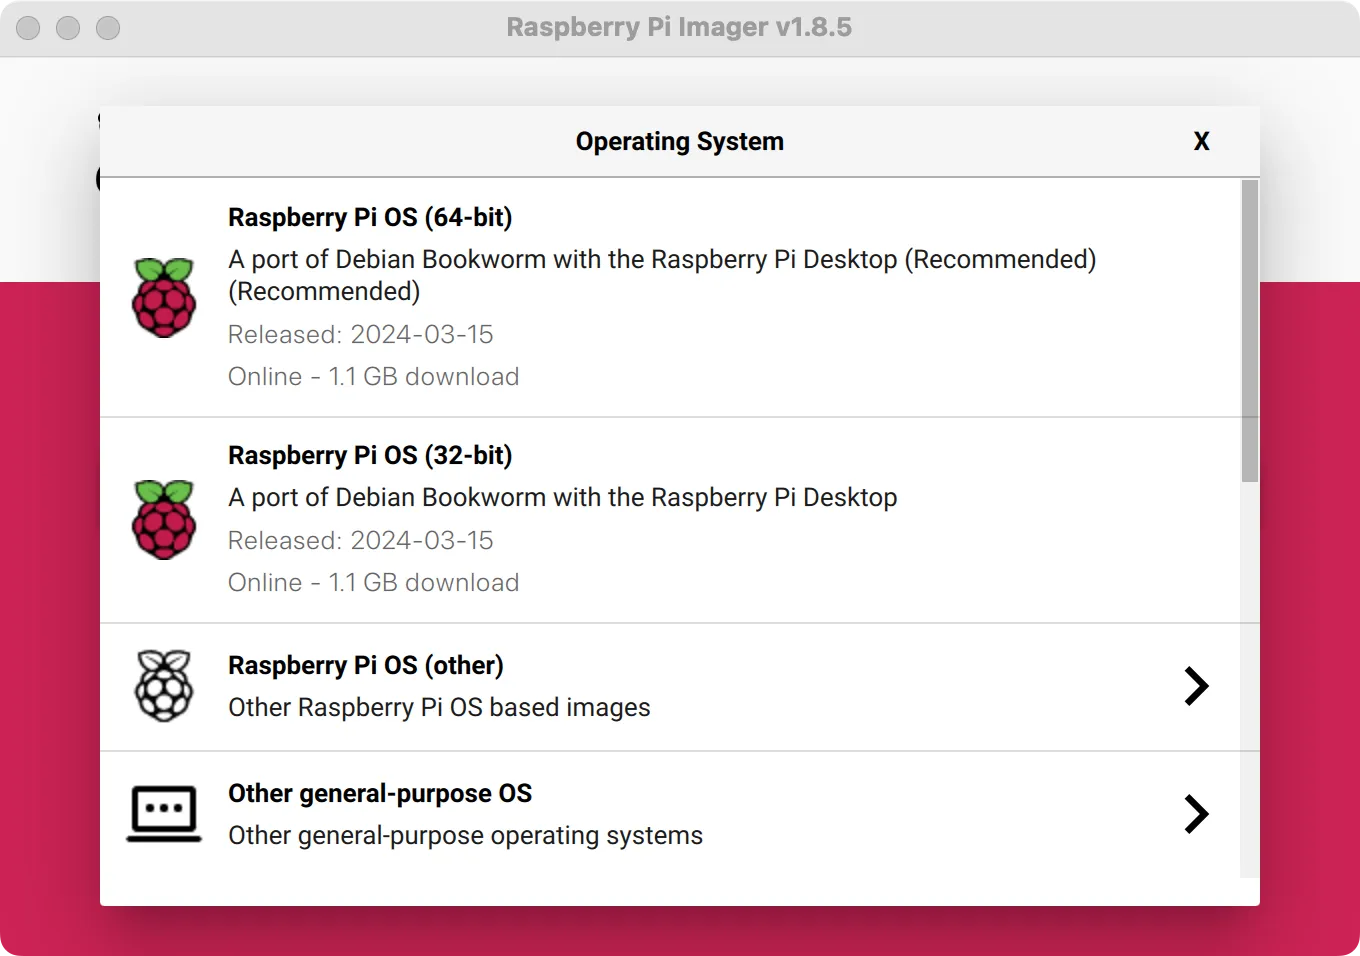
Select a system, Raspberry Pi OS (64-bit) is recommended
-
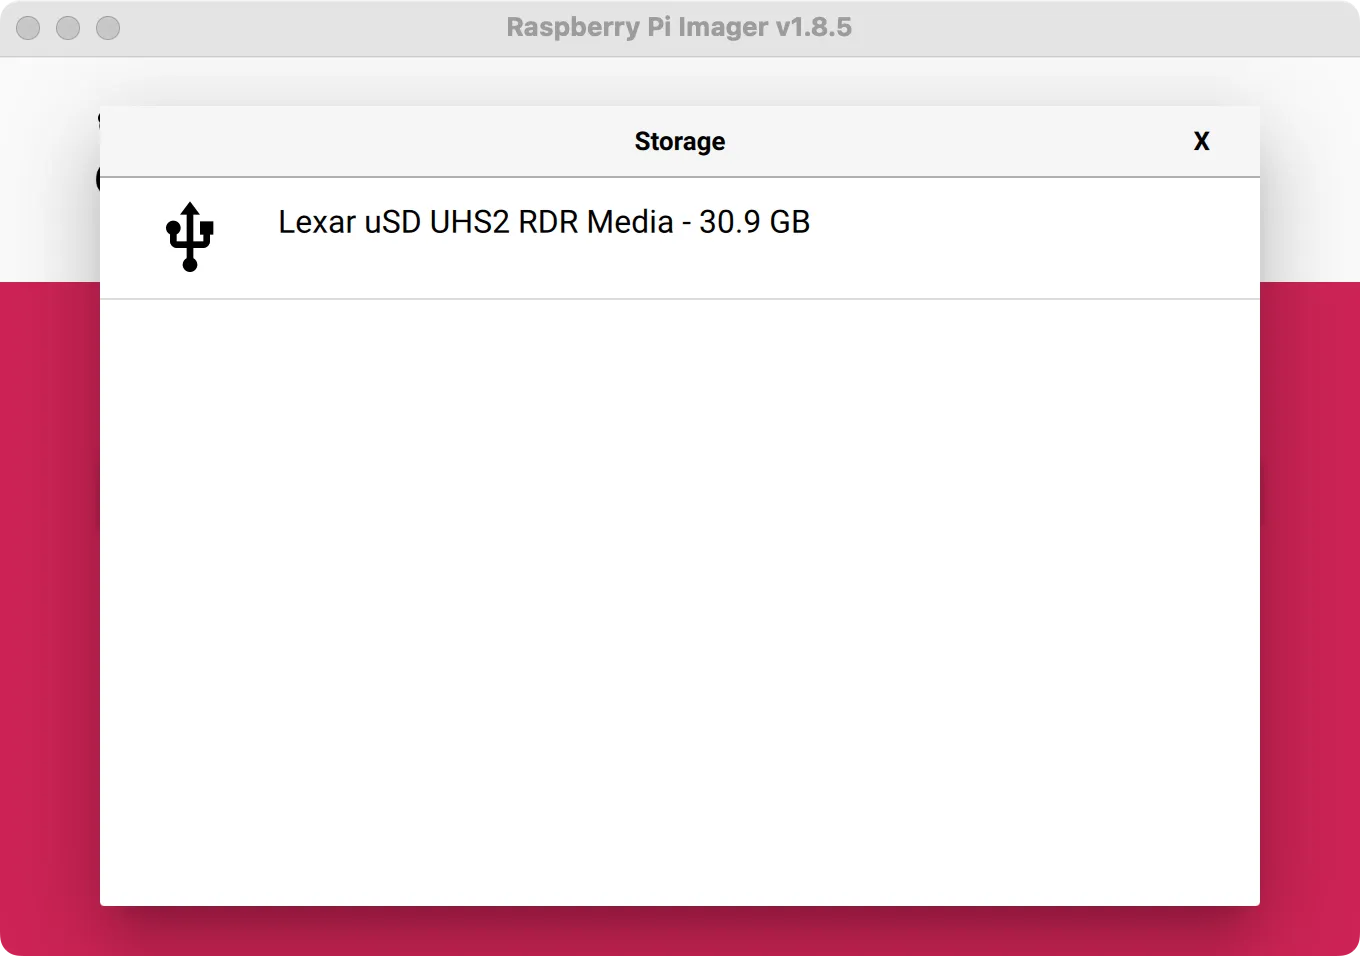
Select the microSD card device you want to insert
-
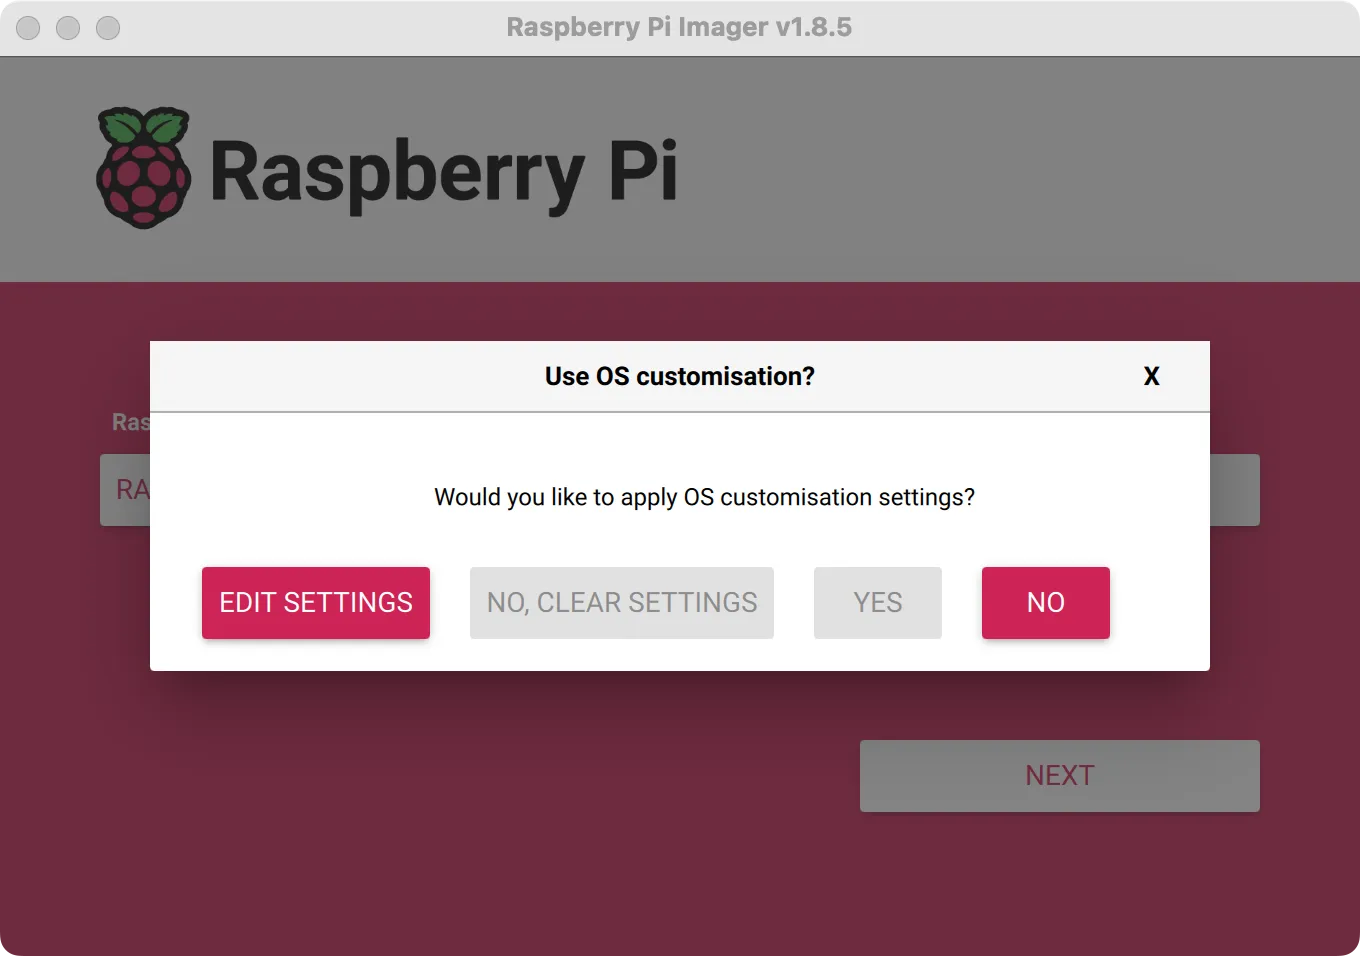
Edit Settings
-
Add user
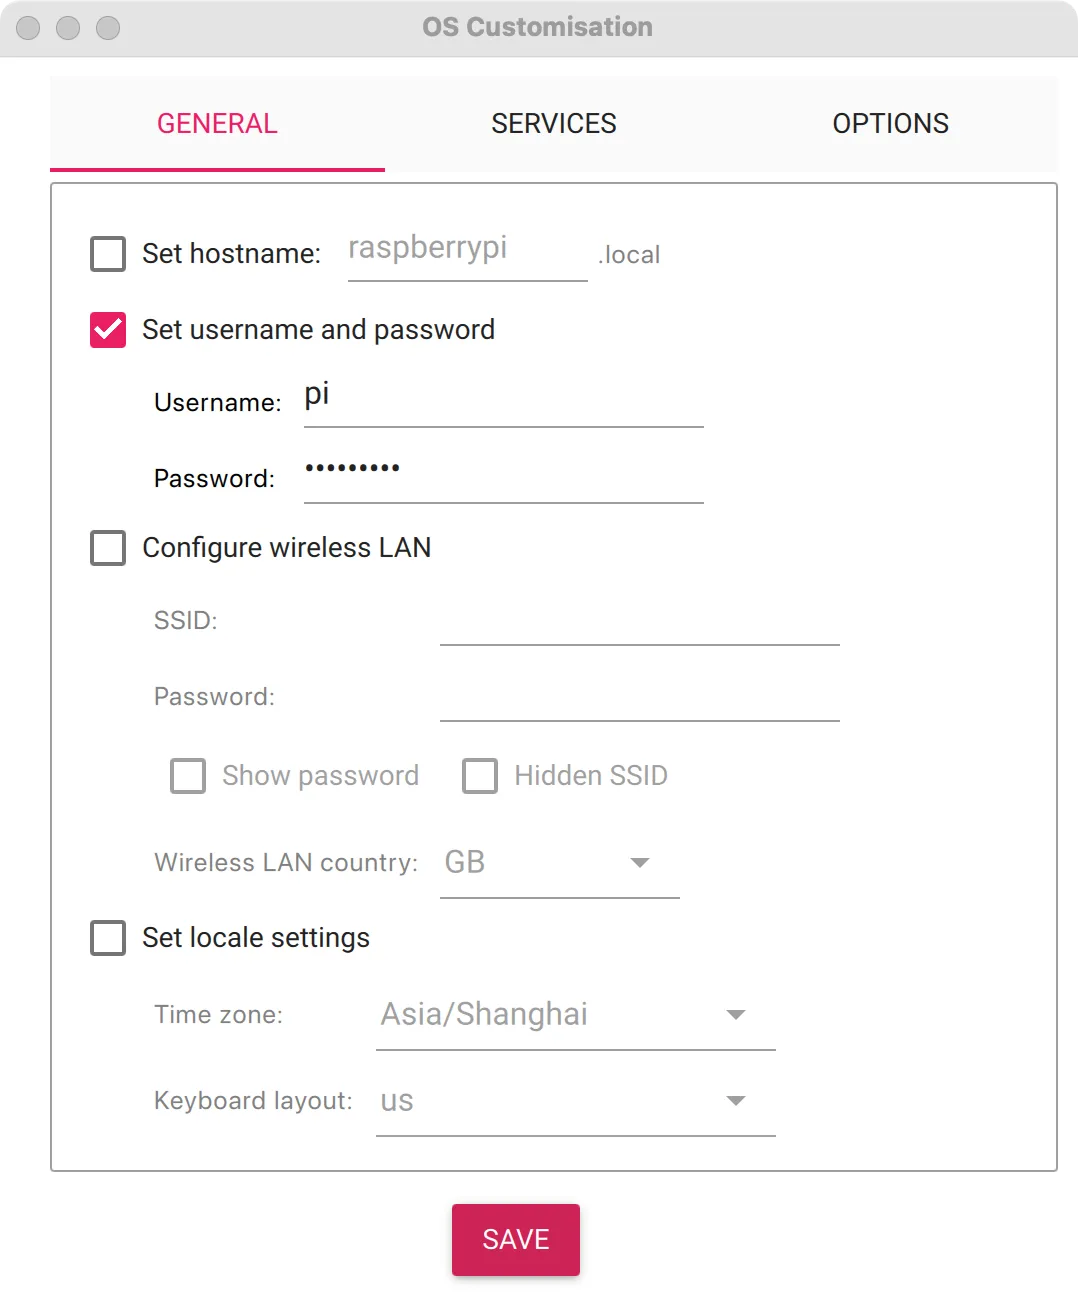
-
Enable SSH
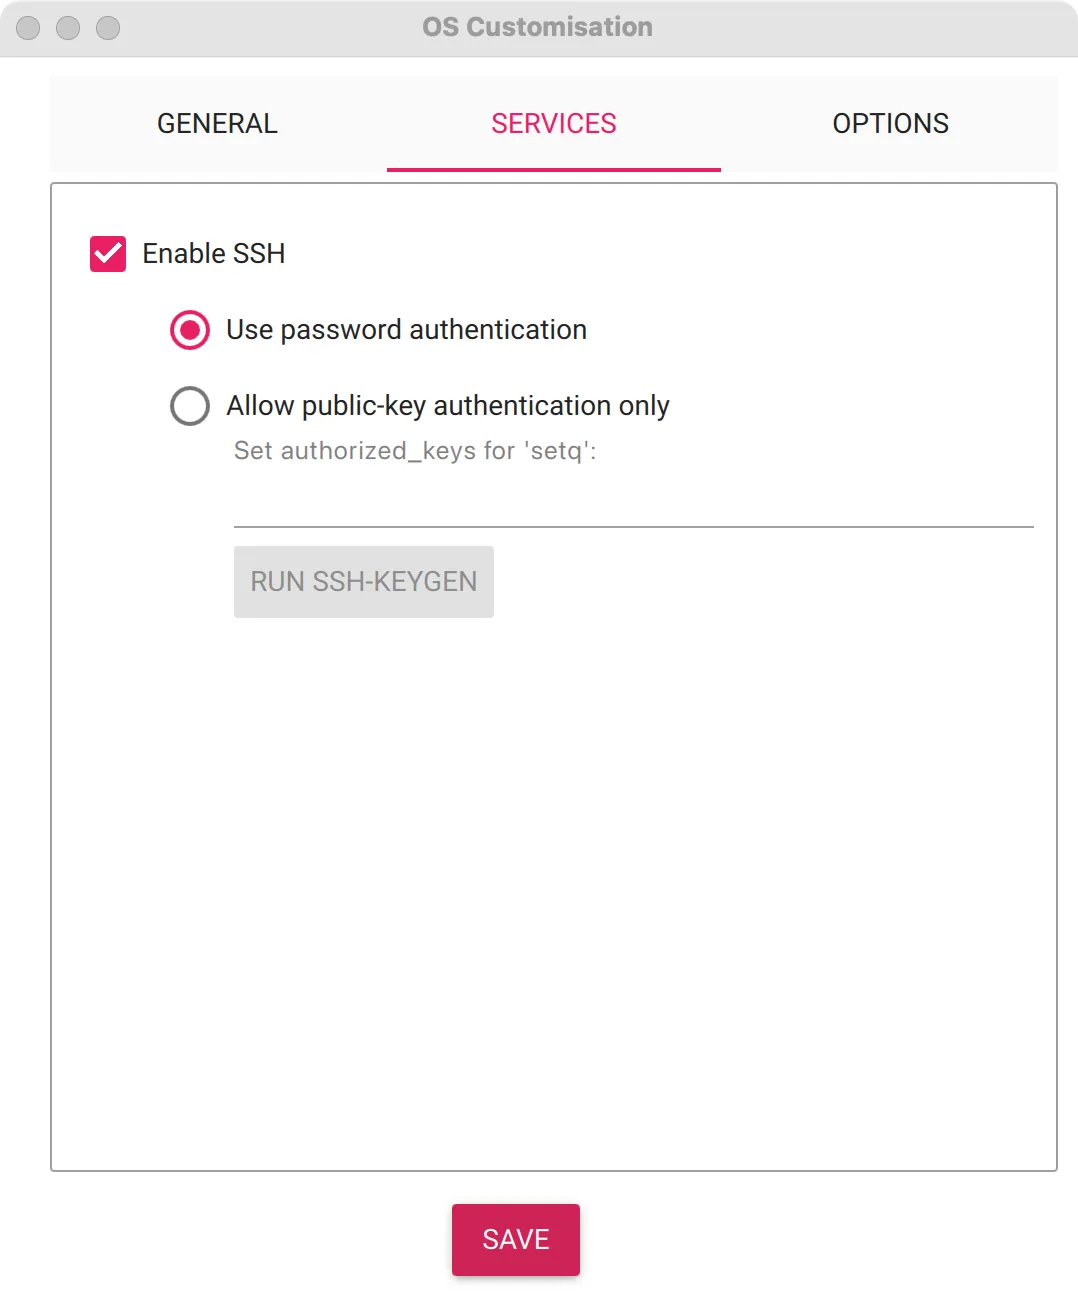
-
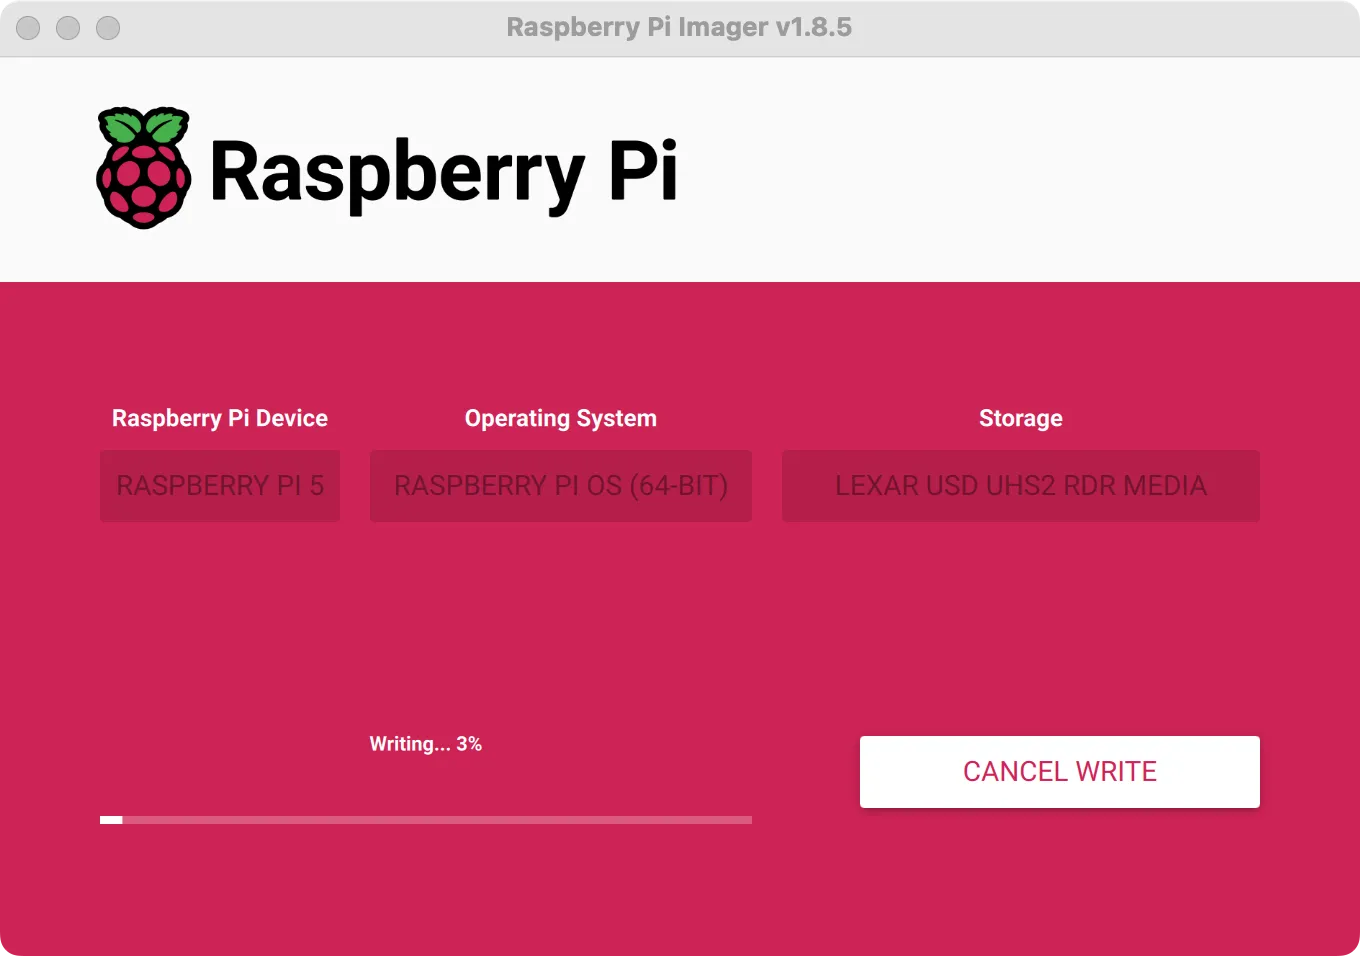
Start write
-
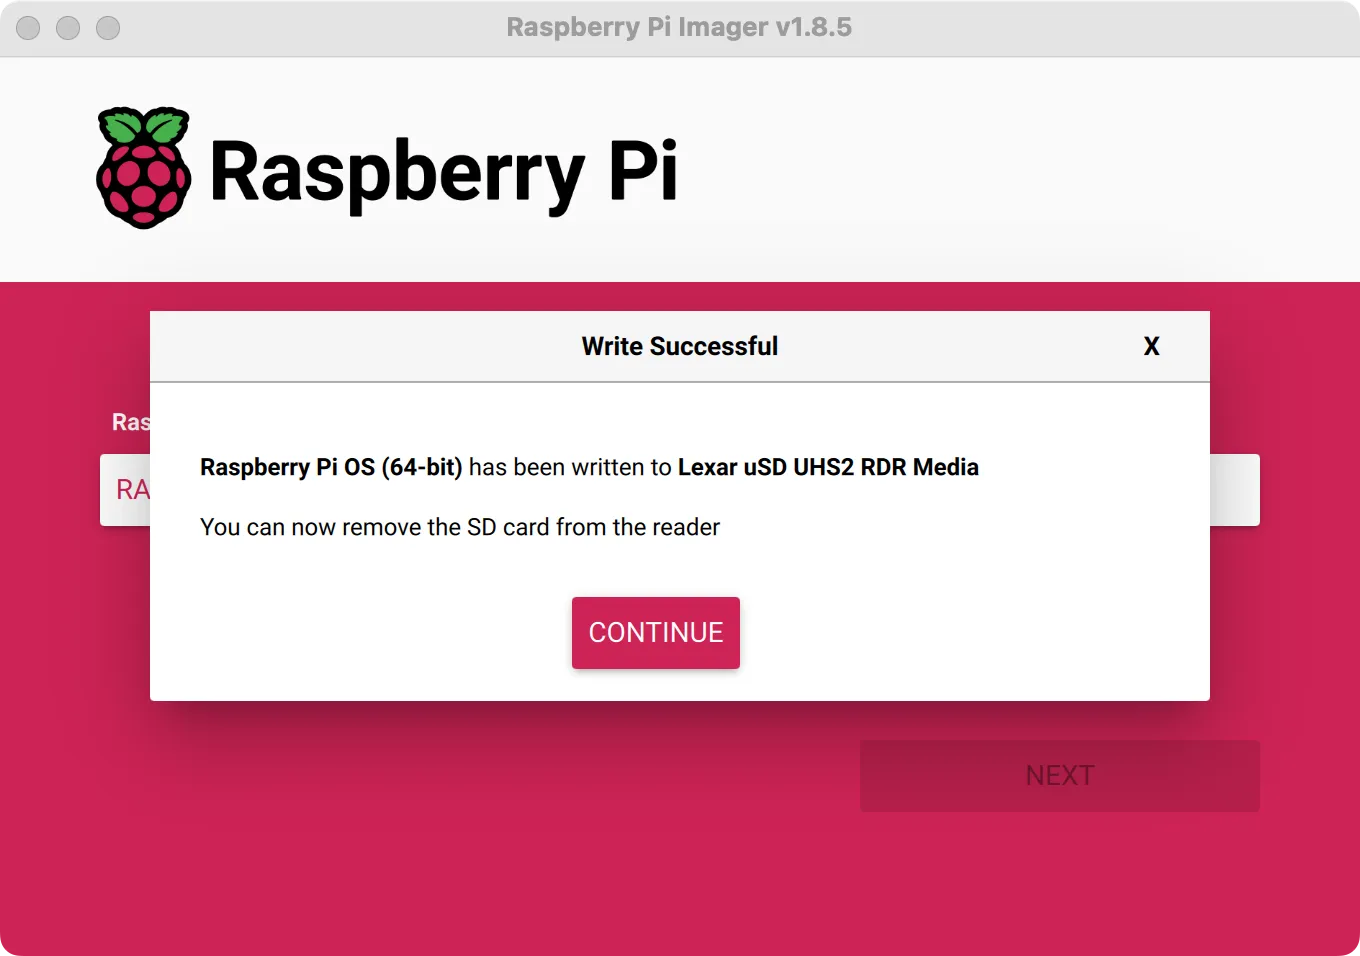
Complete installation
Start Use
Insert the installed system microSD card into the Raspberry Pi and use 12V/5A power supply from the Radxa Penta SATA HAT DC seat. Let's ssh into Raspberry Pi.
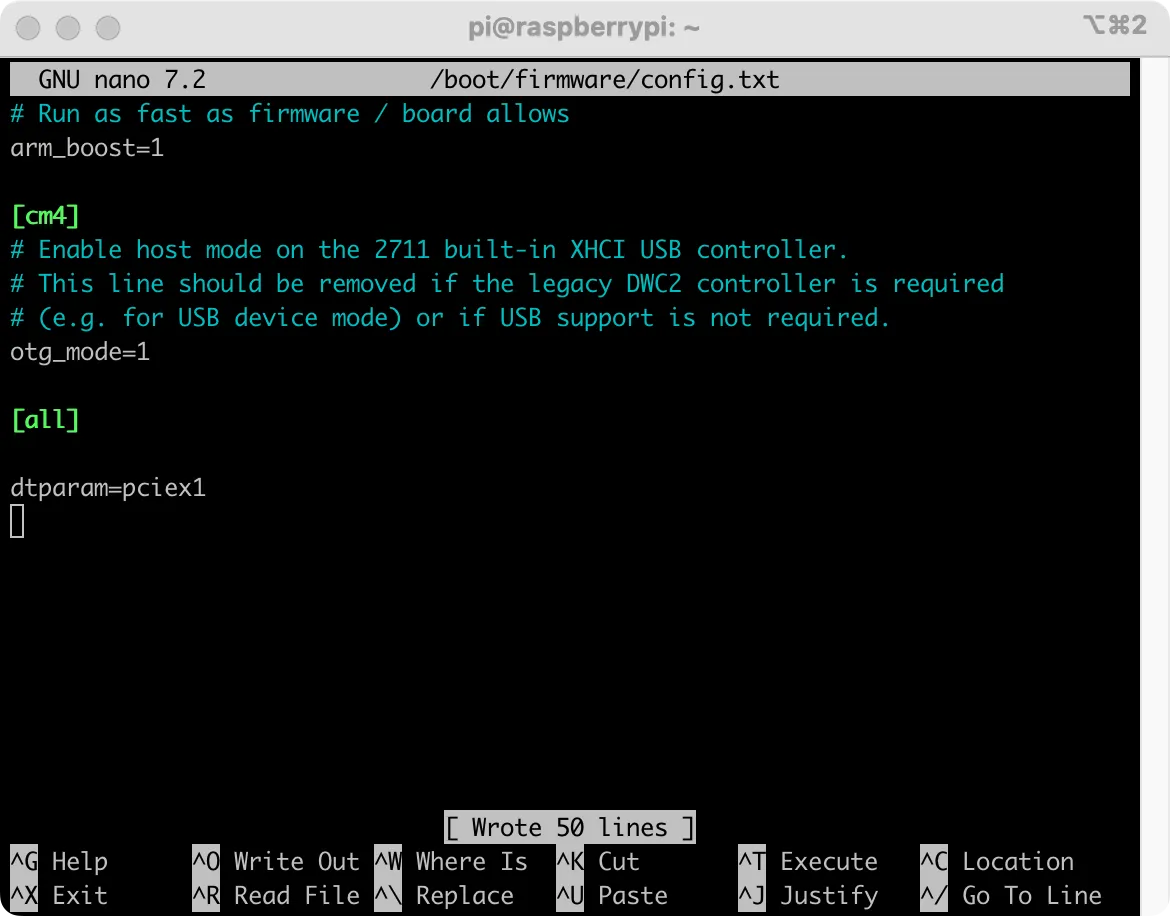
Enable PCIe
Edit /boot/firmware/config.txt and add dtparam=pciex1 to the end of the file, save and reboot.
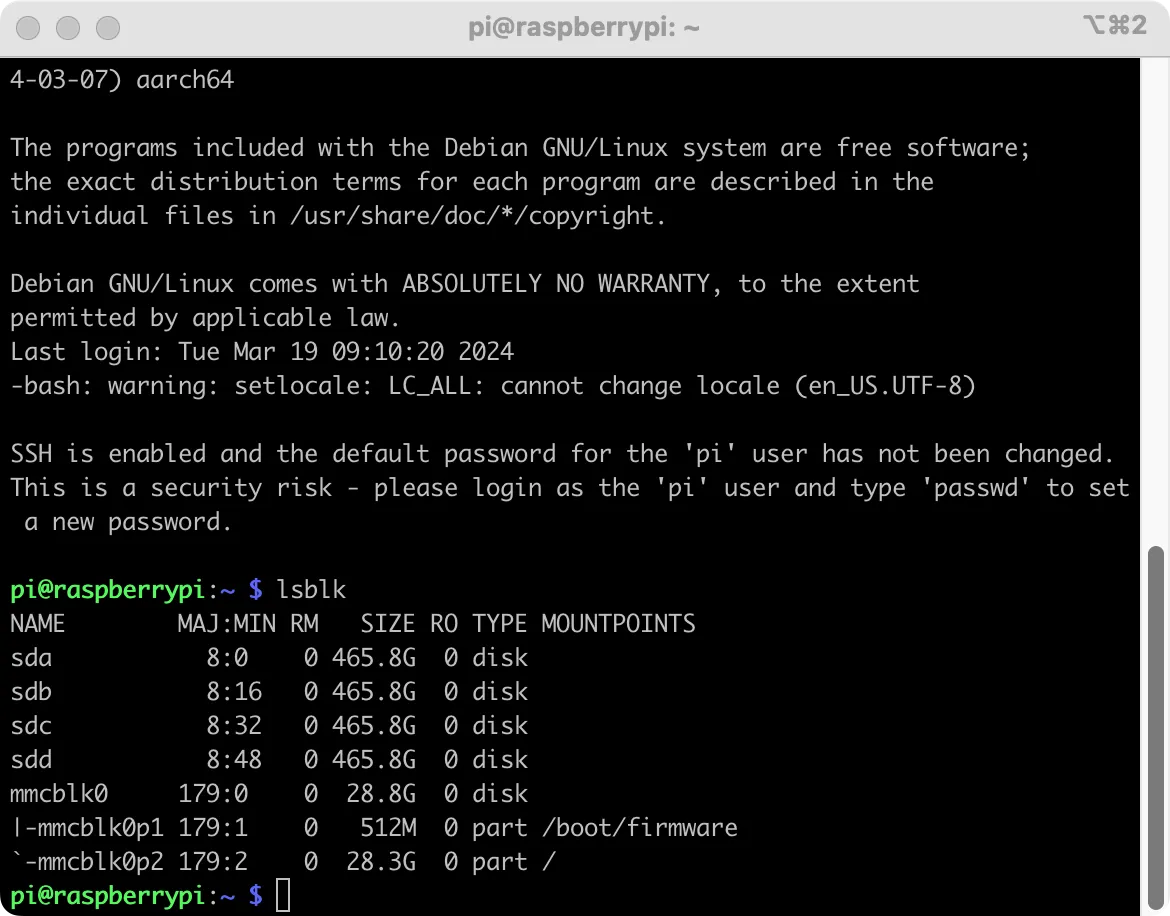
Check disk
Use the lsblk command to view disk devices.
lsblk
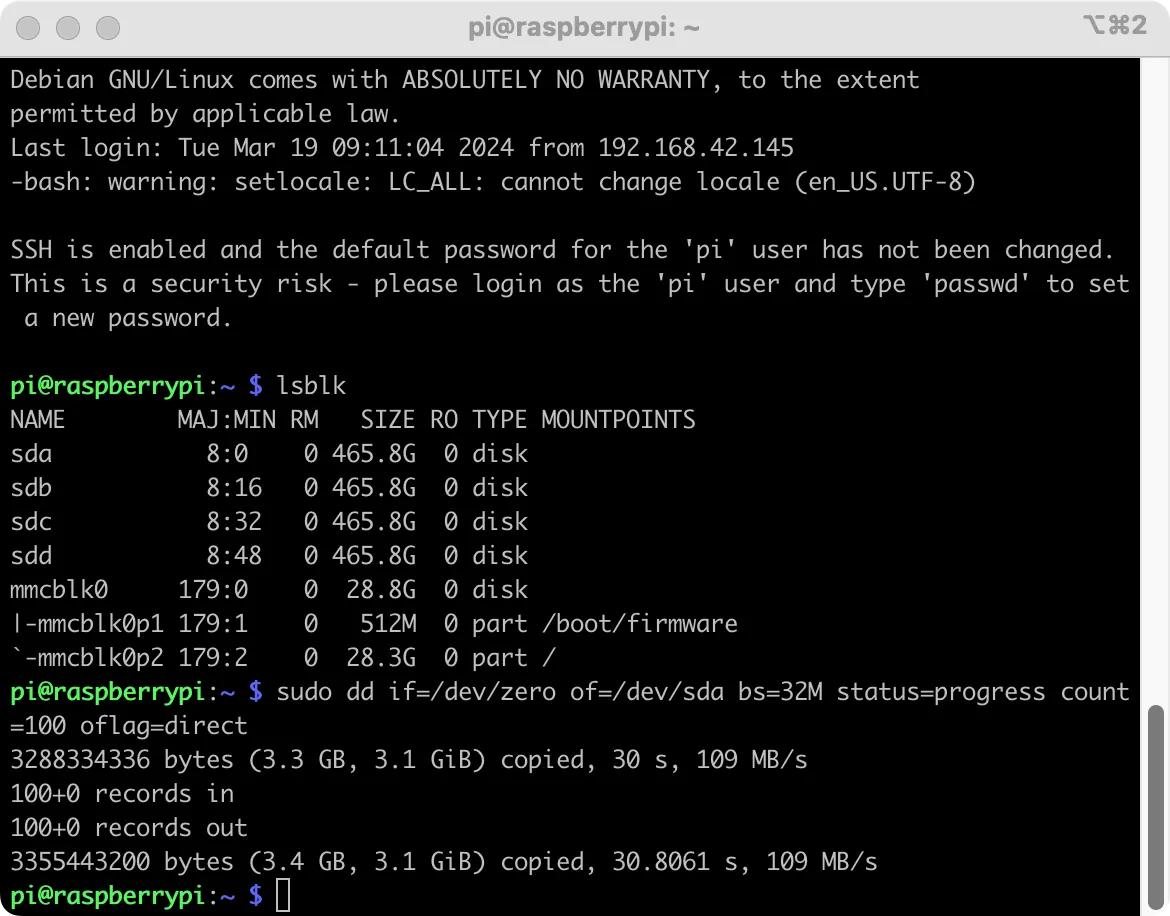
Speed test
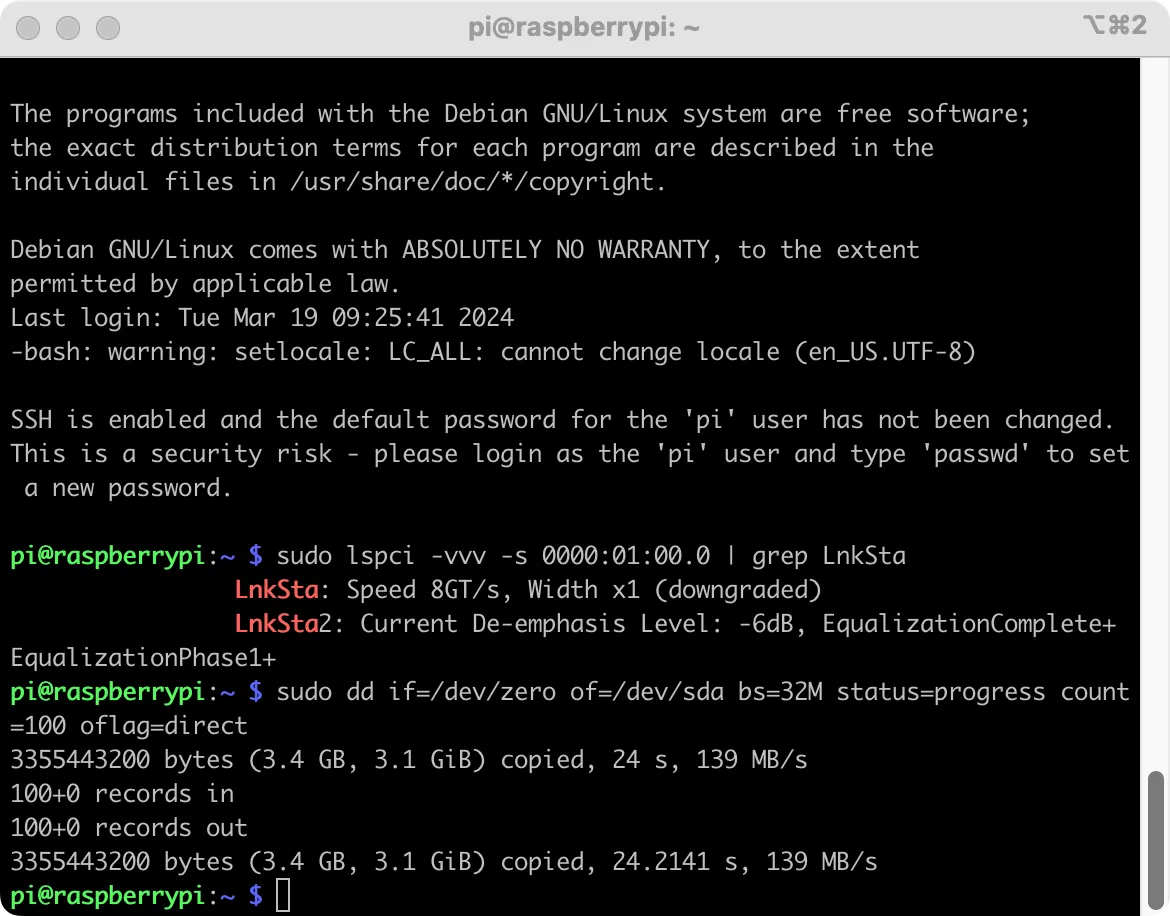
Here is a simple speed test, which is relatively low due to the use of a mechanical hard disk.
sudo dd if=/dev/zero of=/dev/sda bs=32M status=progress count=100 oflag=direct
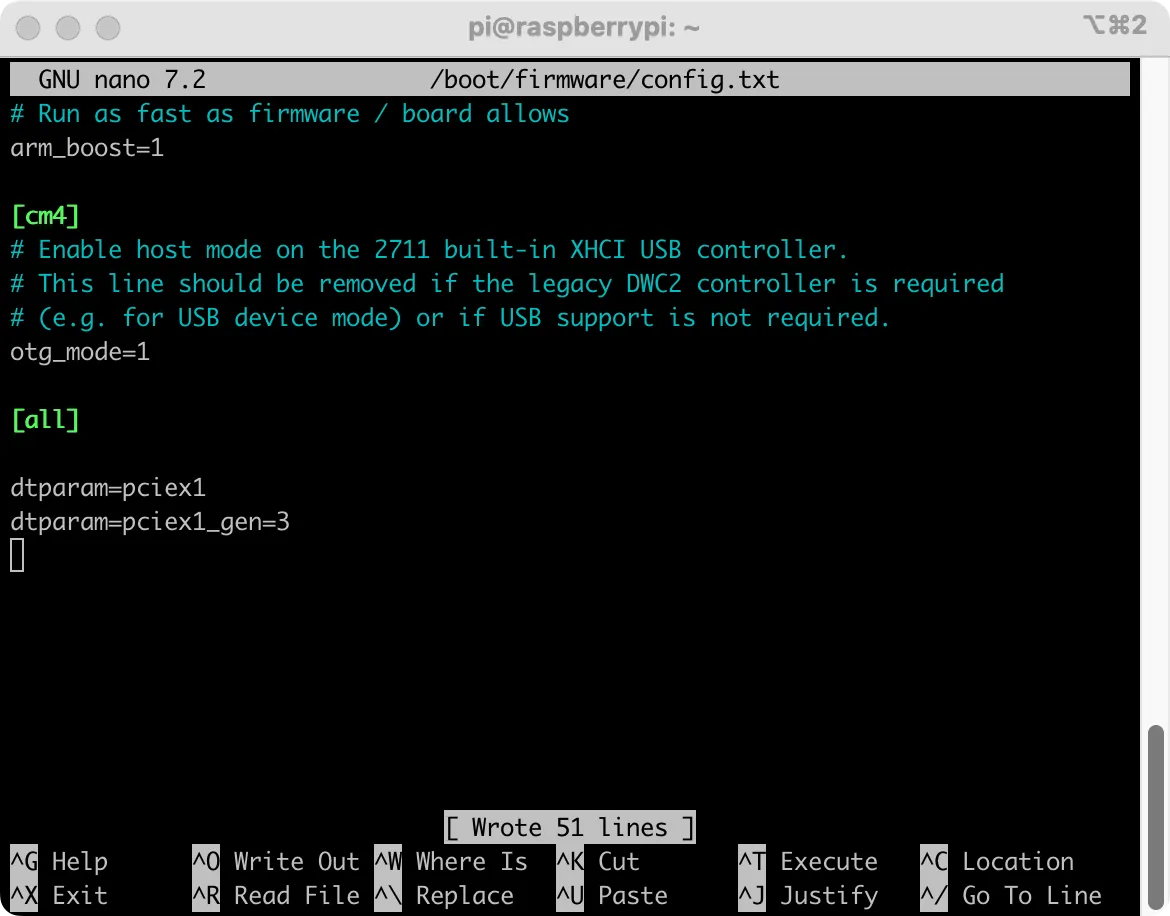
Forcing Gen 3
Adding dtparam=pciex1_gen=3 to /boot/firmware/config.txt will force the Raspberry Pi 5 to use PCIe Gen 3.
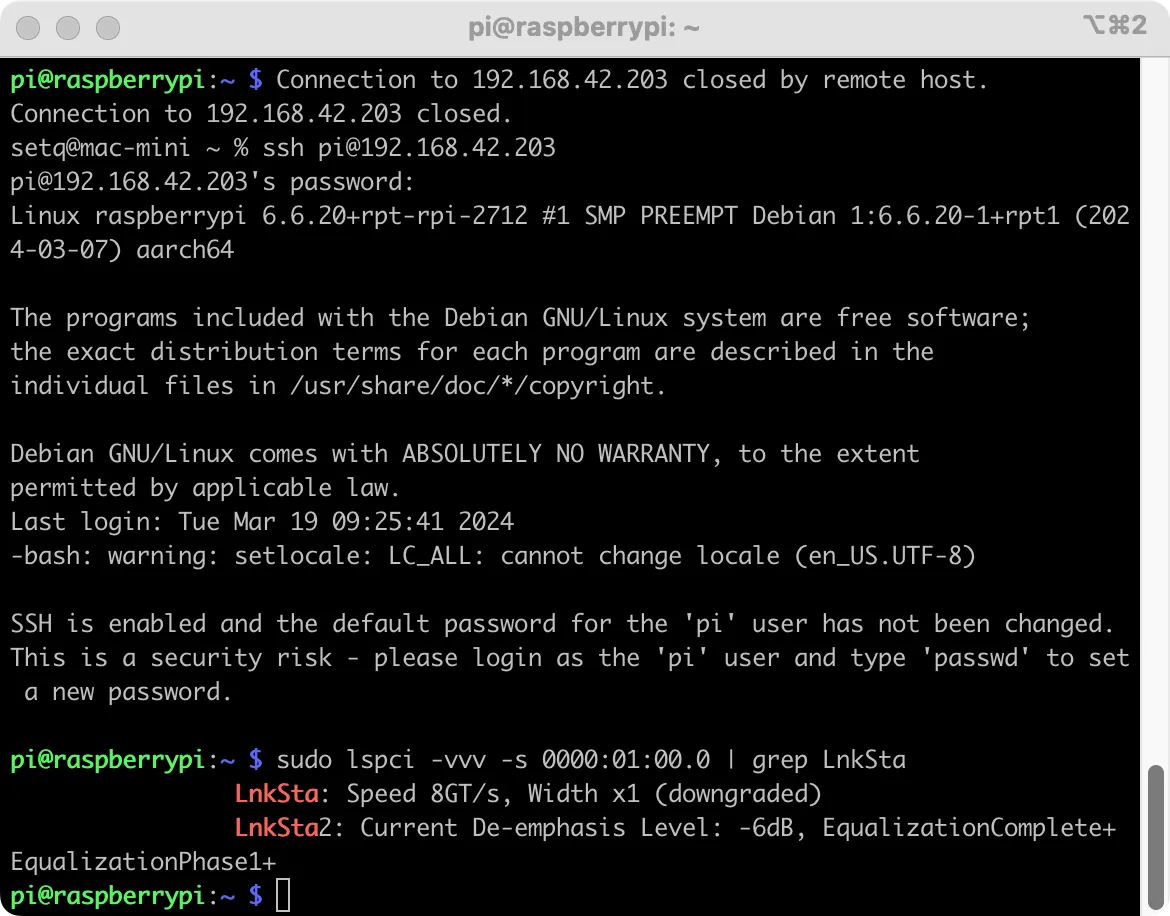
After adding and rebooting, you can use the following command to check the link status of the Radxa Penta HAT.
sudo lspci
sudo lspci -vvv -s 0000:01:00.1 | grep LnkSta
After seeing the Gen 3 in use, we can measure the write speed again.
3D print case
We have not yet produced the corresponding case for sale. But we and the community users have provided some very nice 3D printed cases, you can try to print these cases:
| Case name | Preview | Download link | Author | Note |
|---|---|---|---|---|
| Radxa Penta NAS | 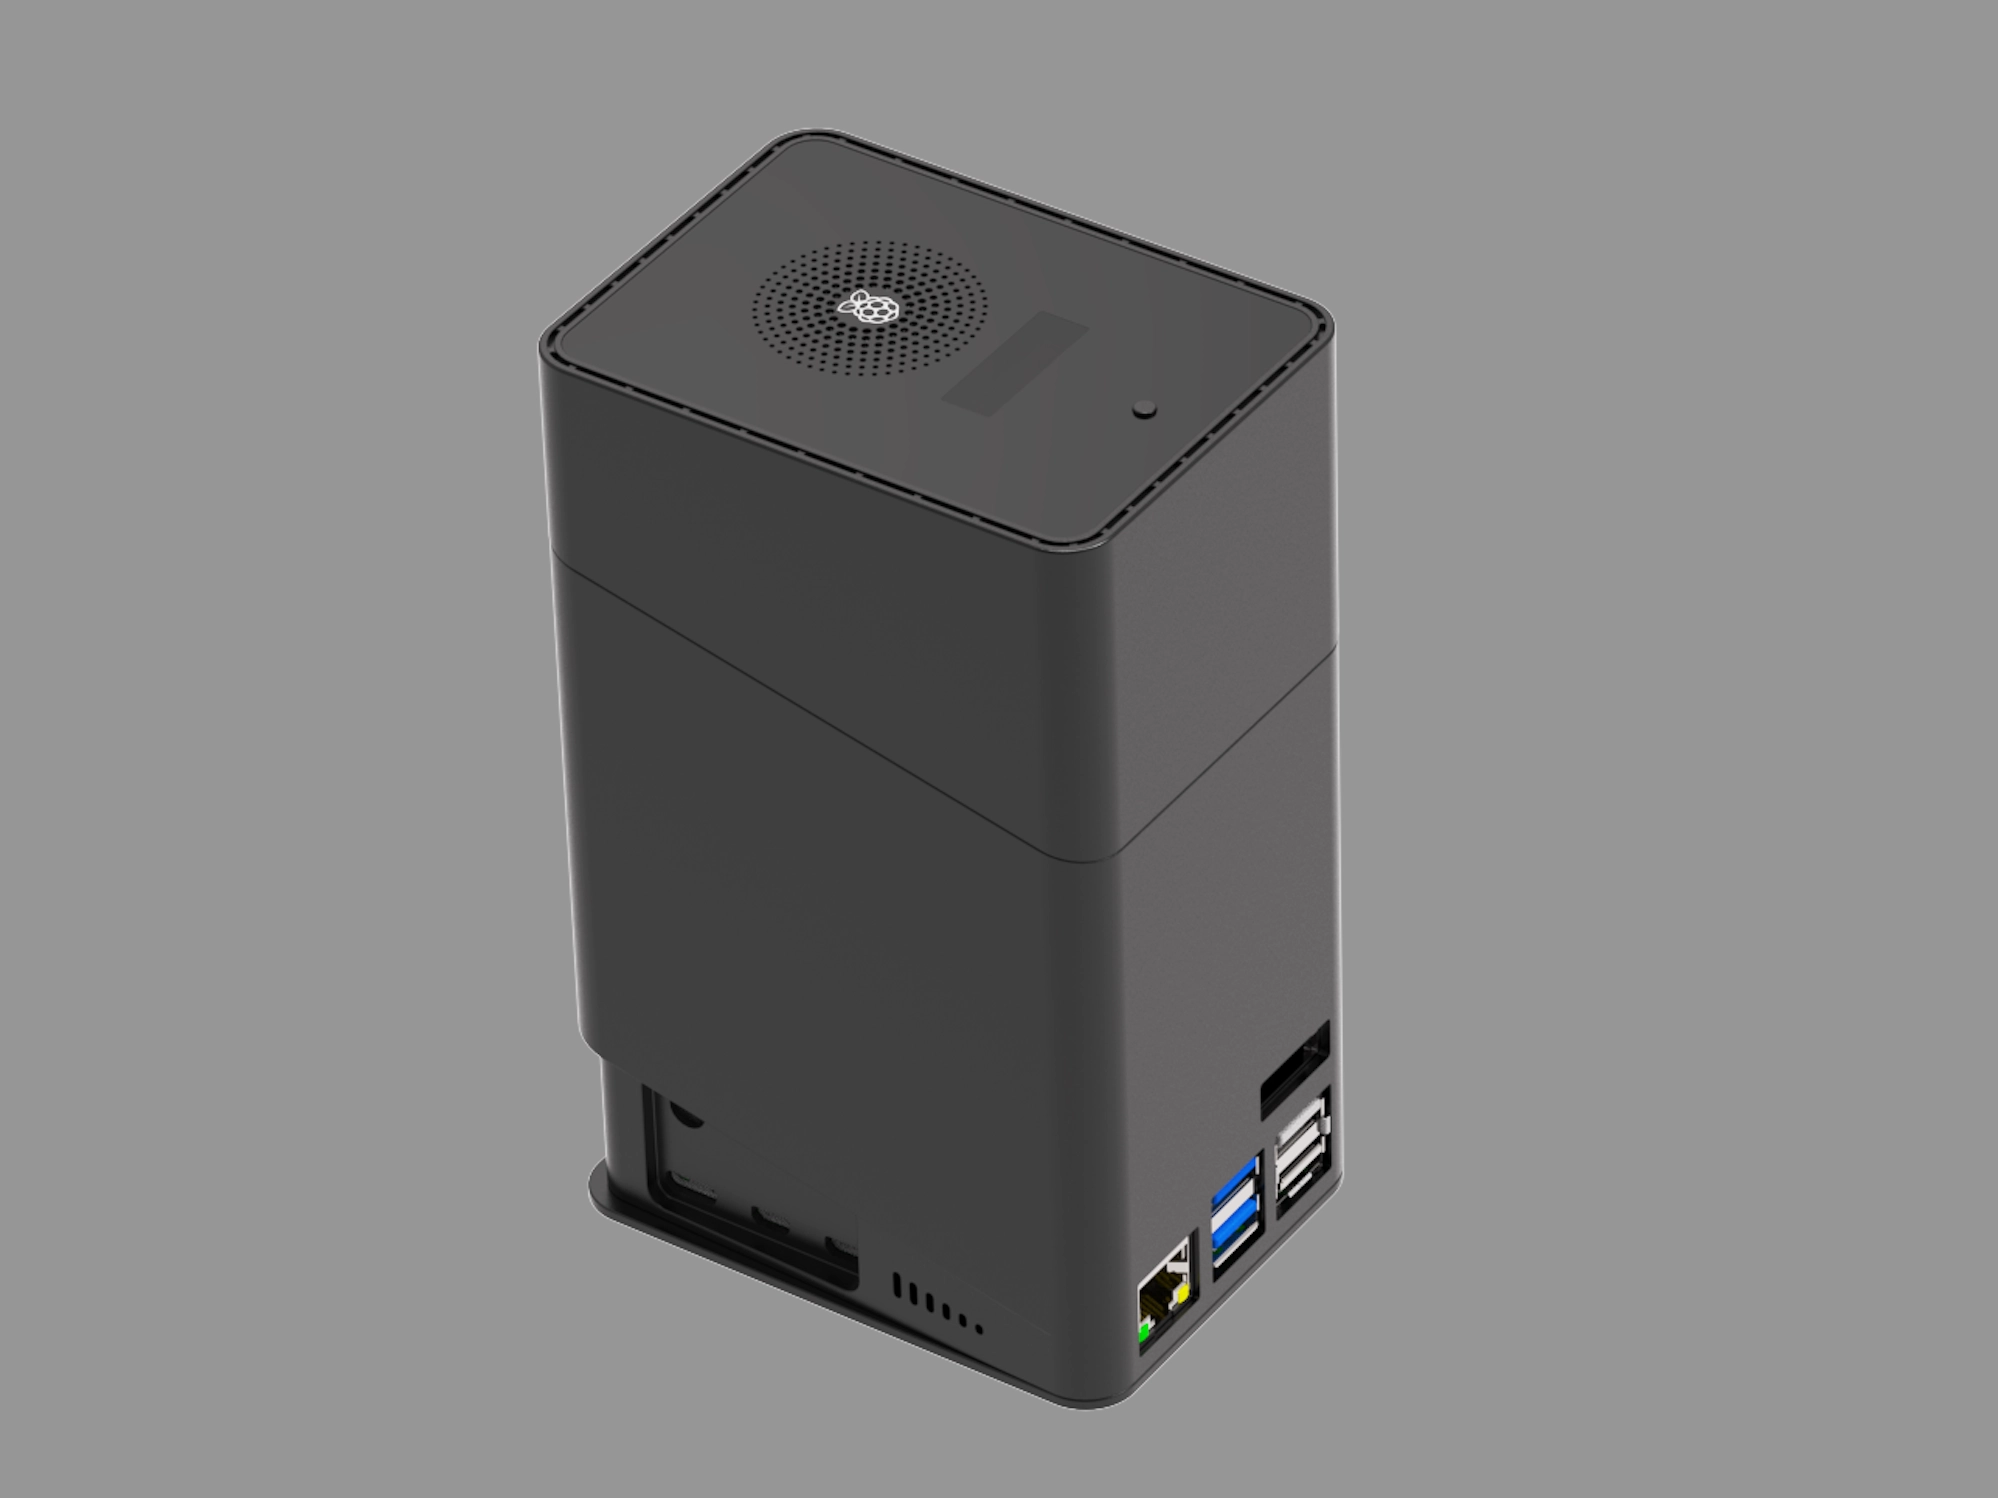 | GrabCAD | Radxa Computer | Supports installation of Top board Issue discussion: Raspberry Pi 3D print penta hat case quirks |
| Pi 5 Four Bay NAS | 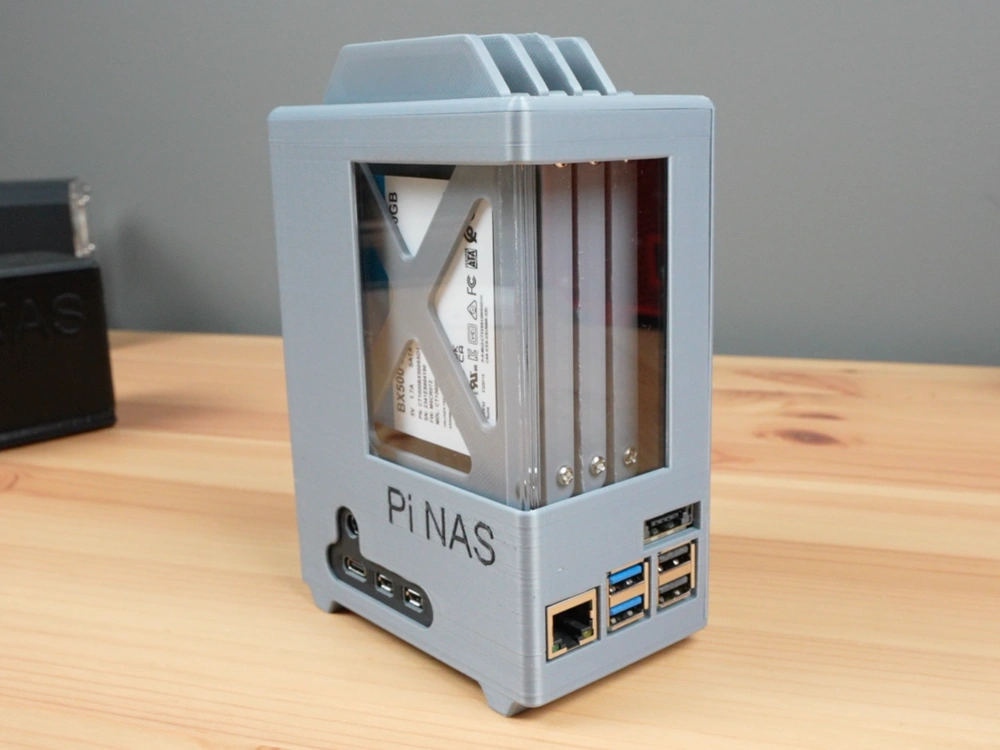 | MakerWorld | Michael Klements | Video: I Built A 4-Bay NAS Using A Raspberry Pi 5 |
| Pi 5 NAS TOWER | 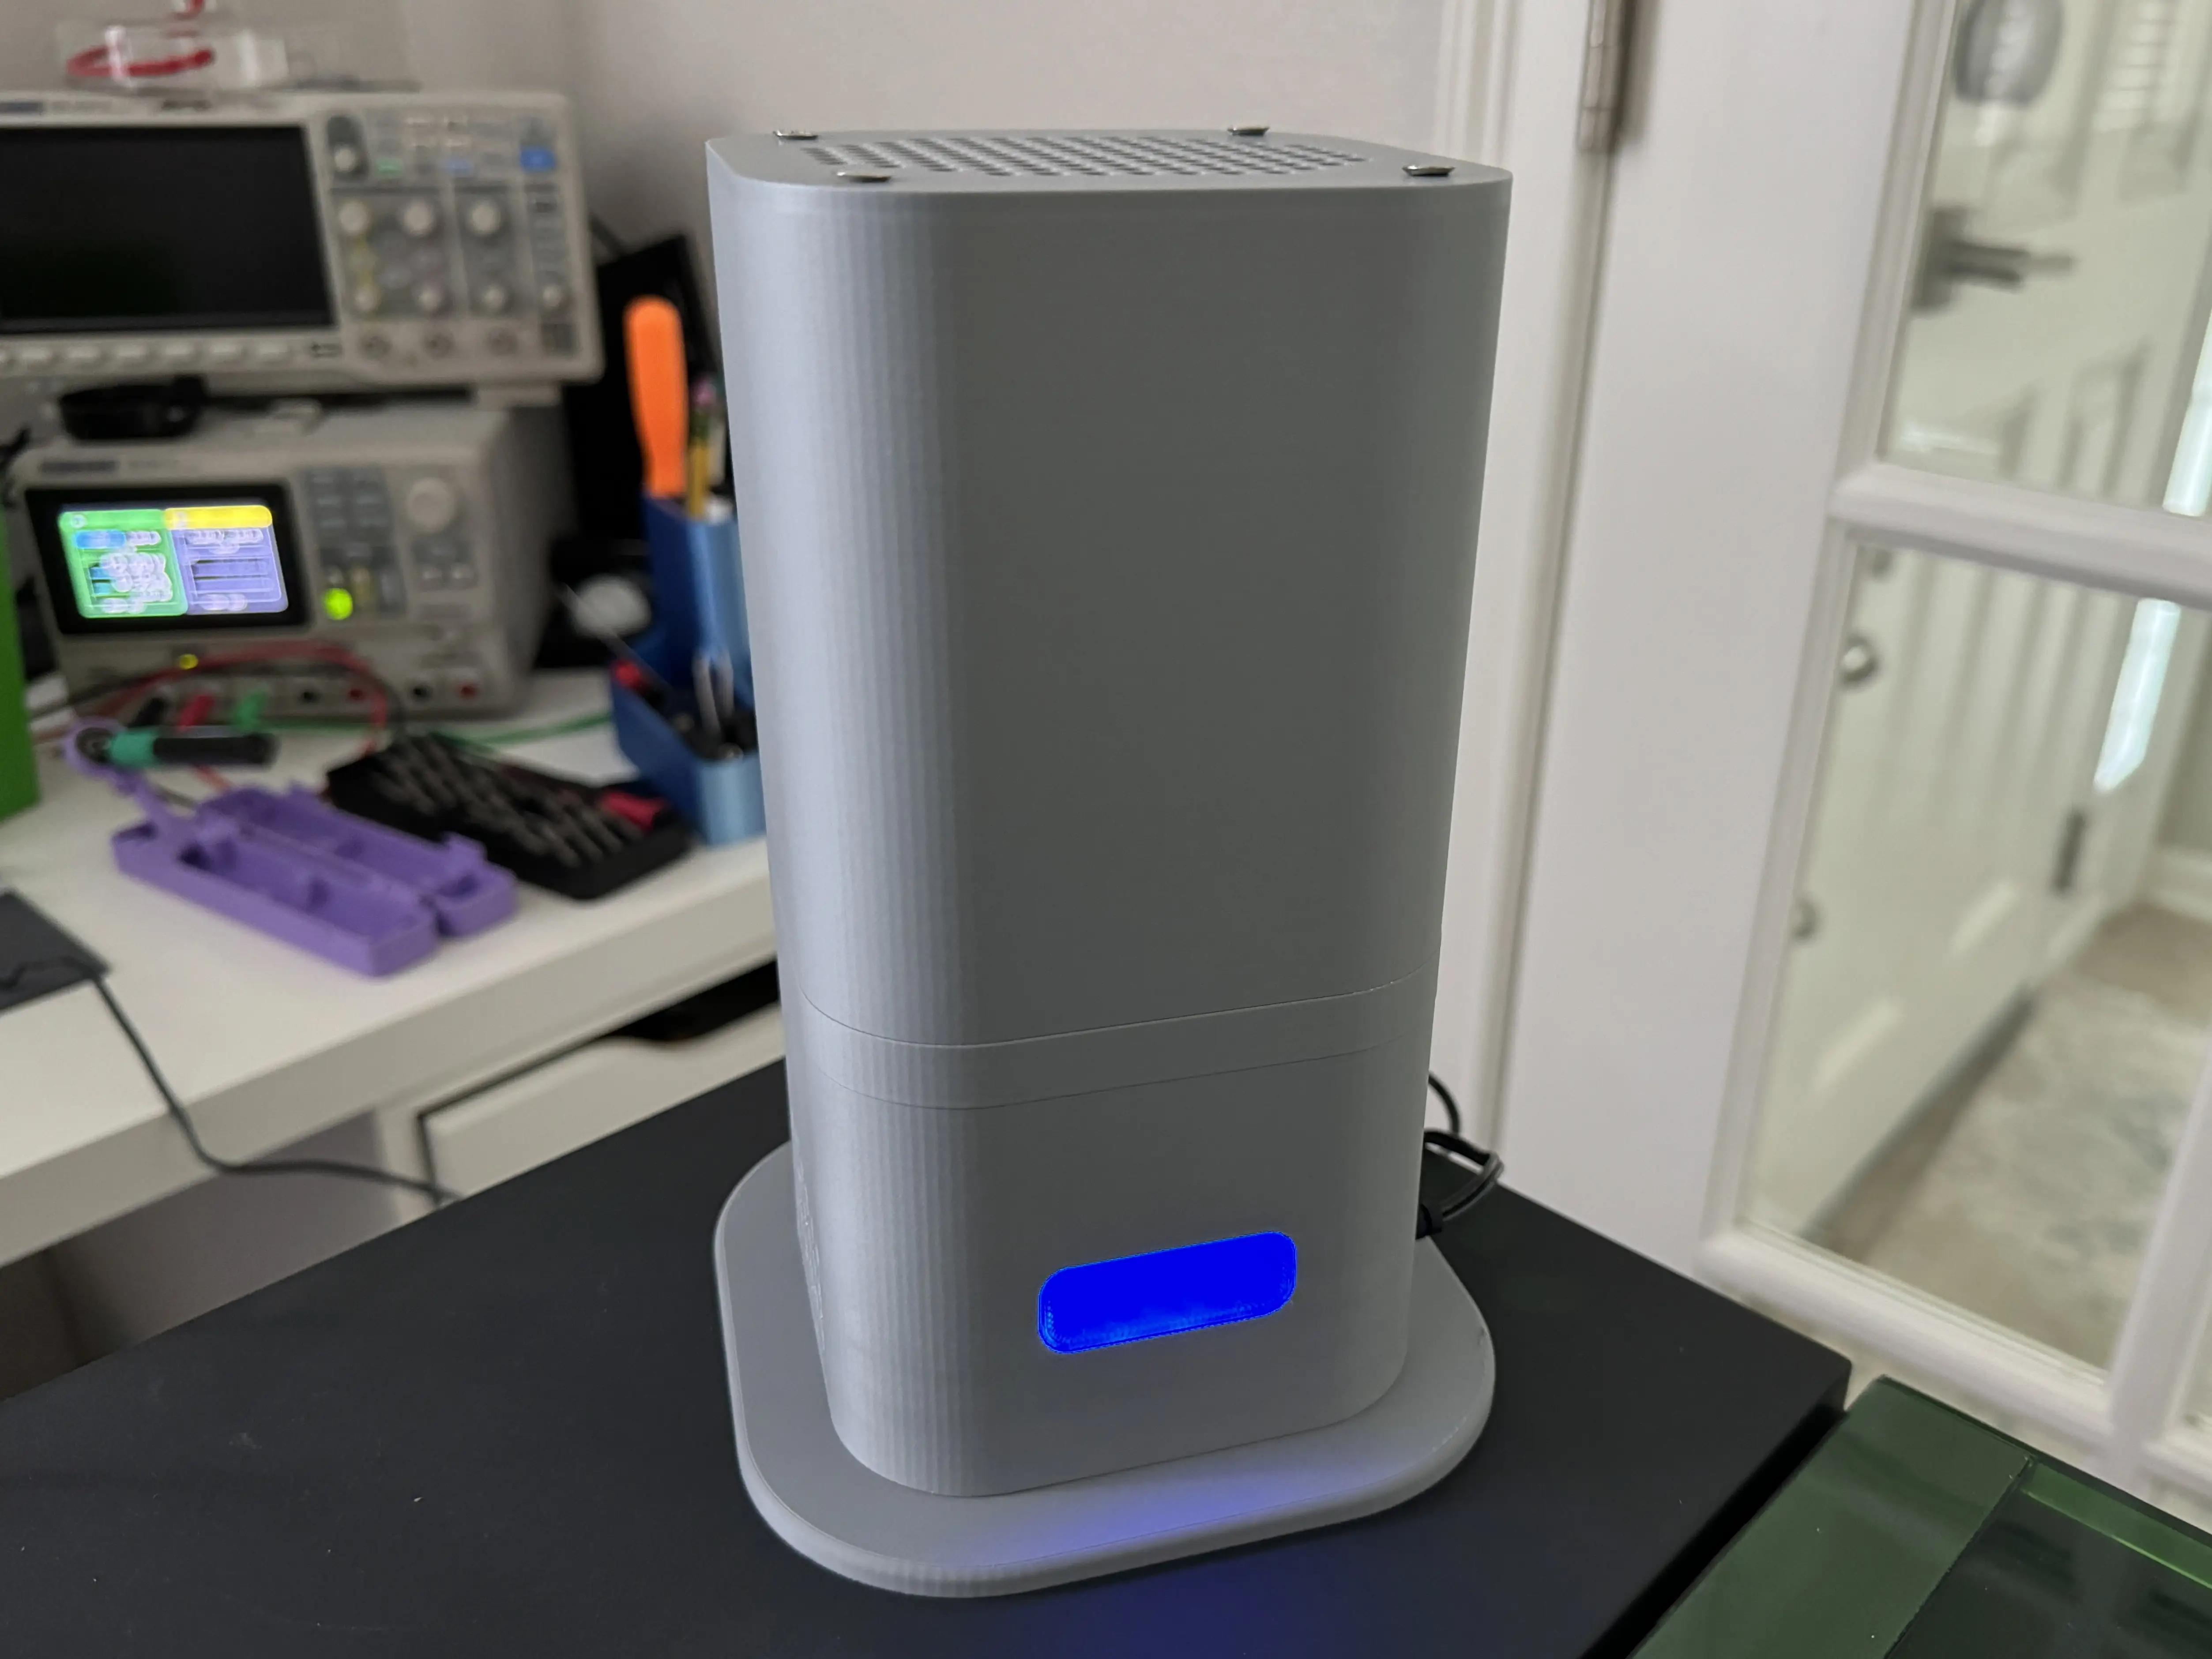 | Cults 3D | CeIIy | Noctua 8CM fan, excellent heat dissipation |
| Pi 5 NAS BOX | 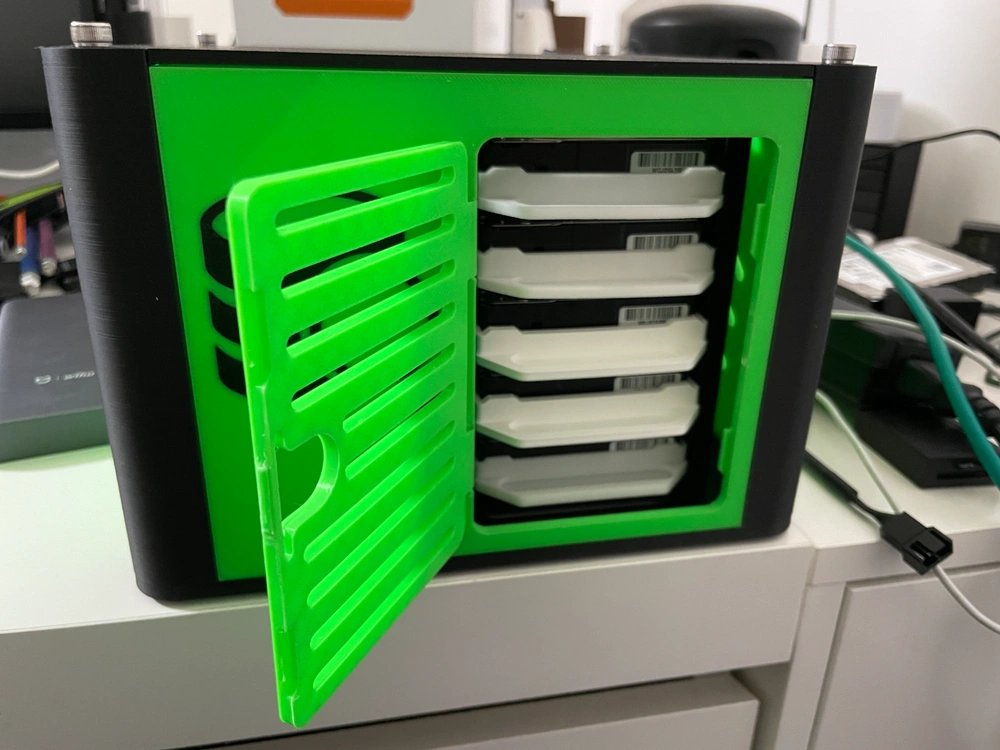 | MakerWorld | WikiZell | Hard disk is easy to plug and play |
| Radxa Penta Case | 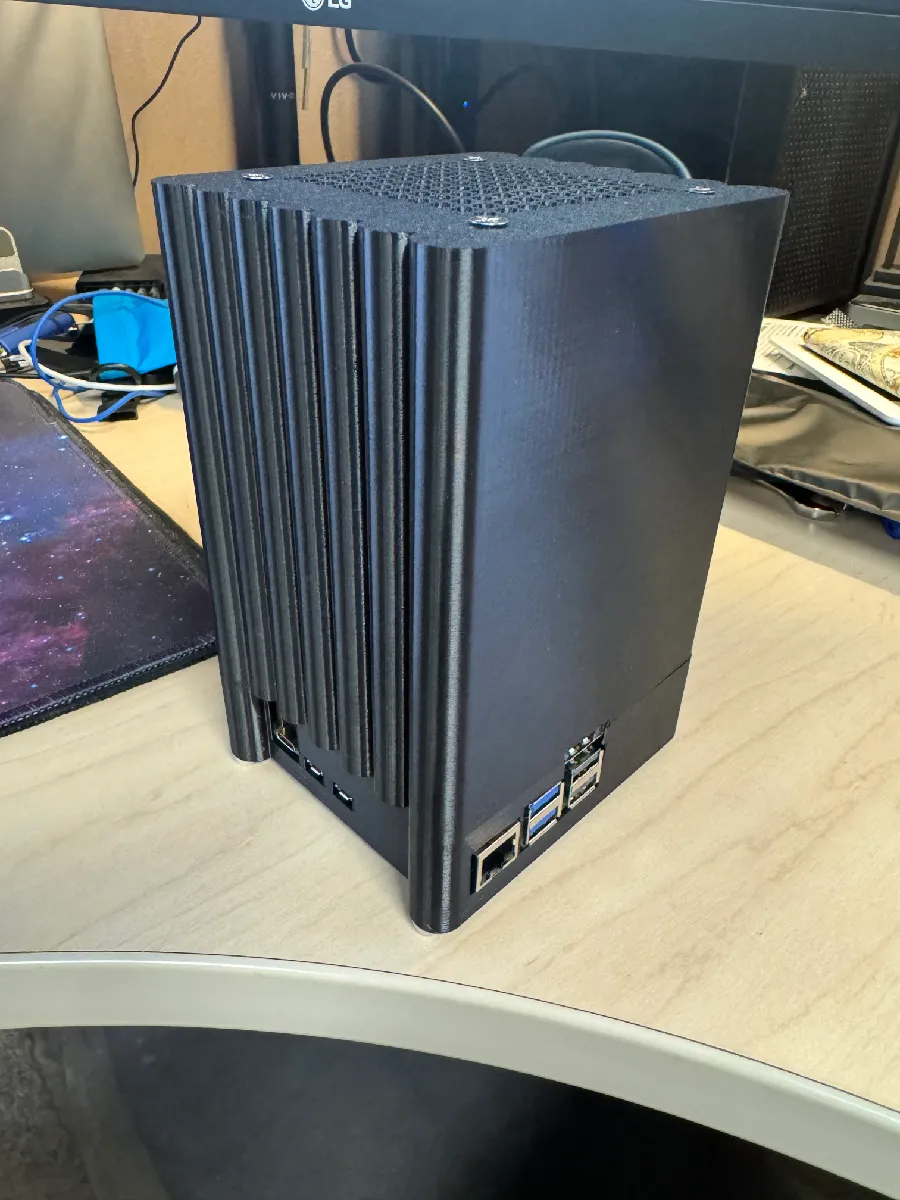 | Printables | Patrick Friedel | 8CM fan, excellent heat |