Operating System Installation
Prerequisites
- A microSD card (8GB minimum, 16GB or larger recommended)
- A computer with a microSD card reader
- Internet connection to download the necessary software
Installing Raspberry Pi OS
Step 1: Download and Install Raspberry Pi Imager
- Visit the official Raspberry Pi website at https://www.raspberrypi.com/software/
- Download the Raspberry Pi Imager application appropriate for your computer's operating system (Windows, macOS, or Linux)
- Install the application following the on-screen instructions
- Insert your microSD card into your computer's card reader
Step 2: Write the Operating System to the microSD Card
-
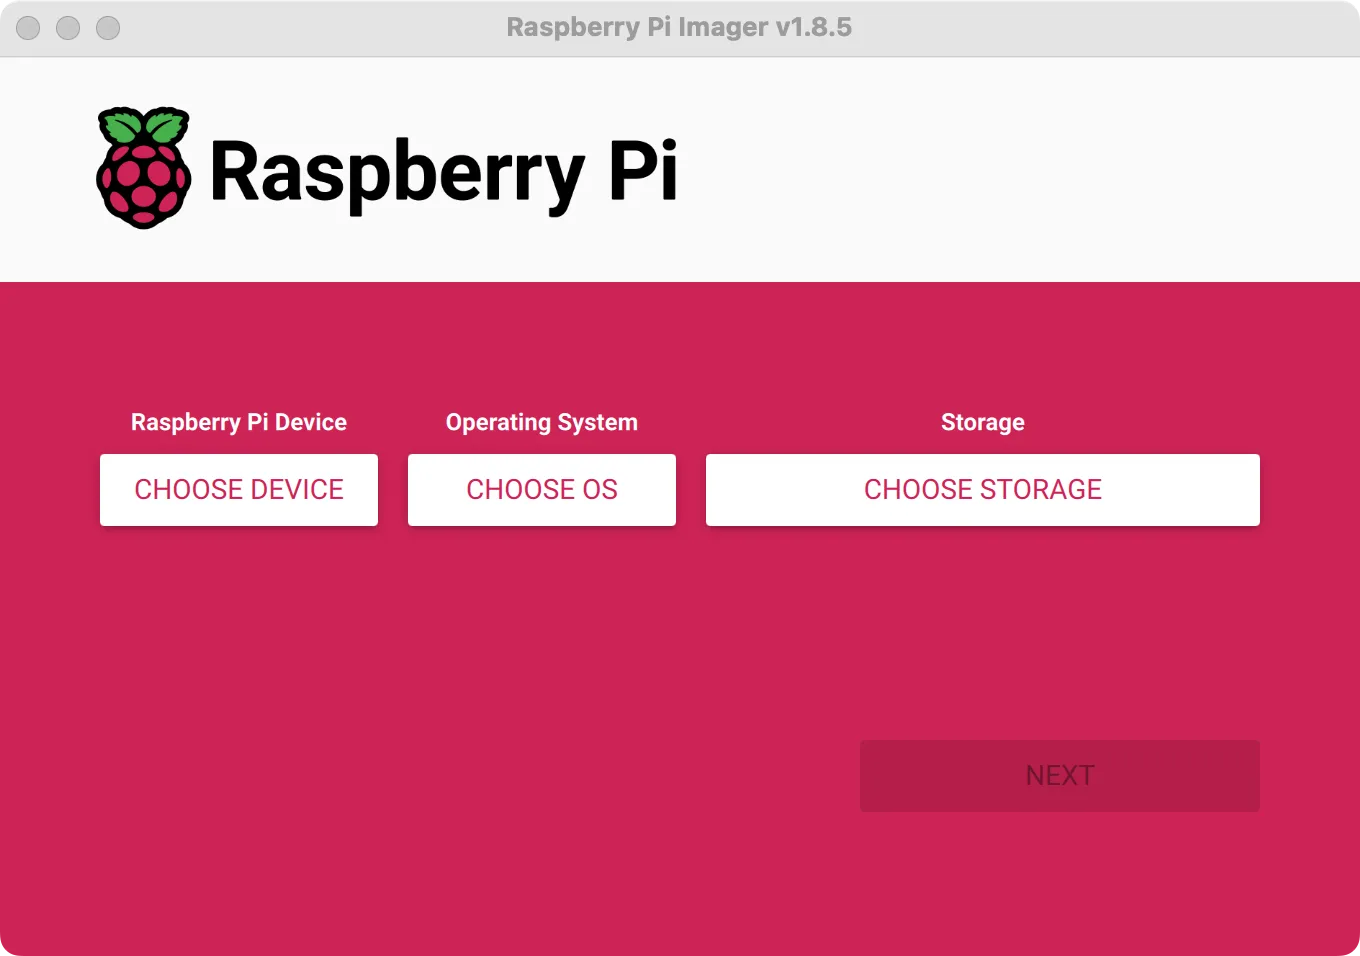
Launch the Raspberry Pi Imager application
-
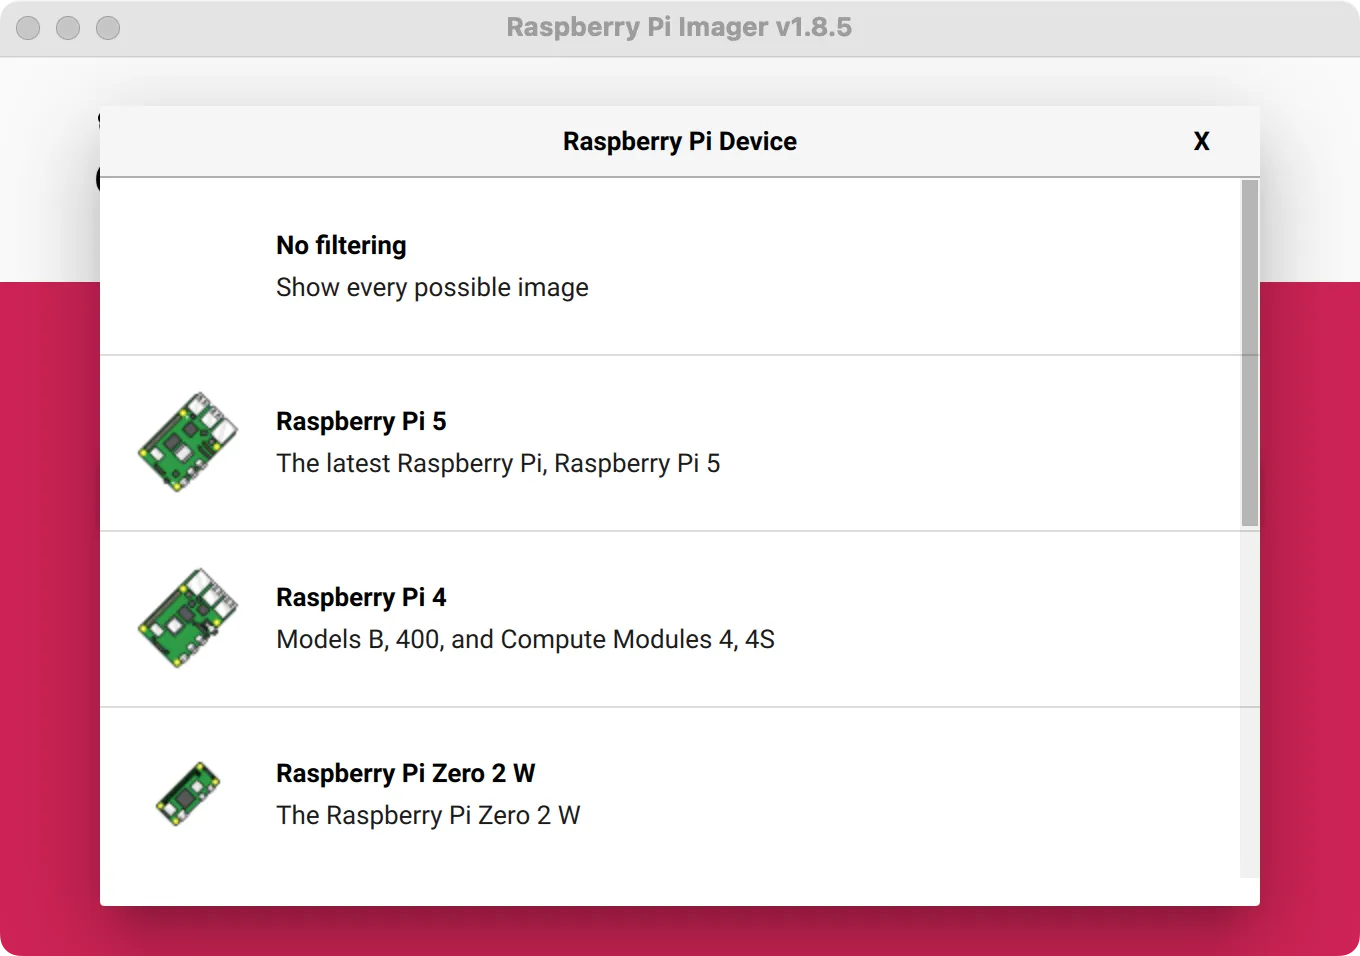
Click on "Choose Device" and select "Raspberry Pi 5" from the list
-
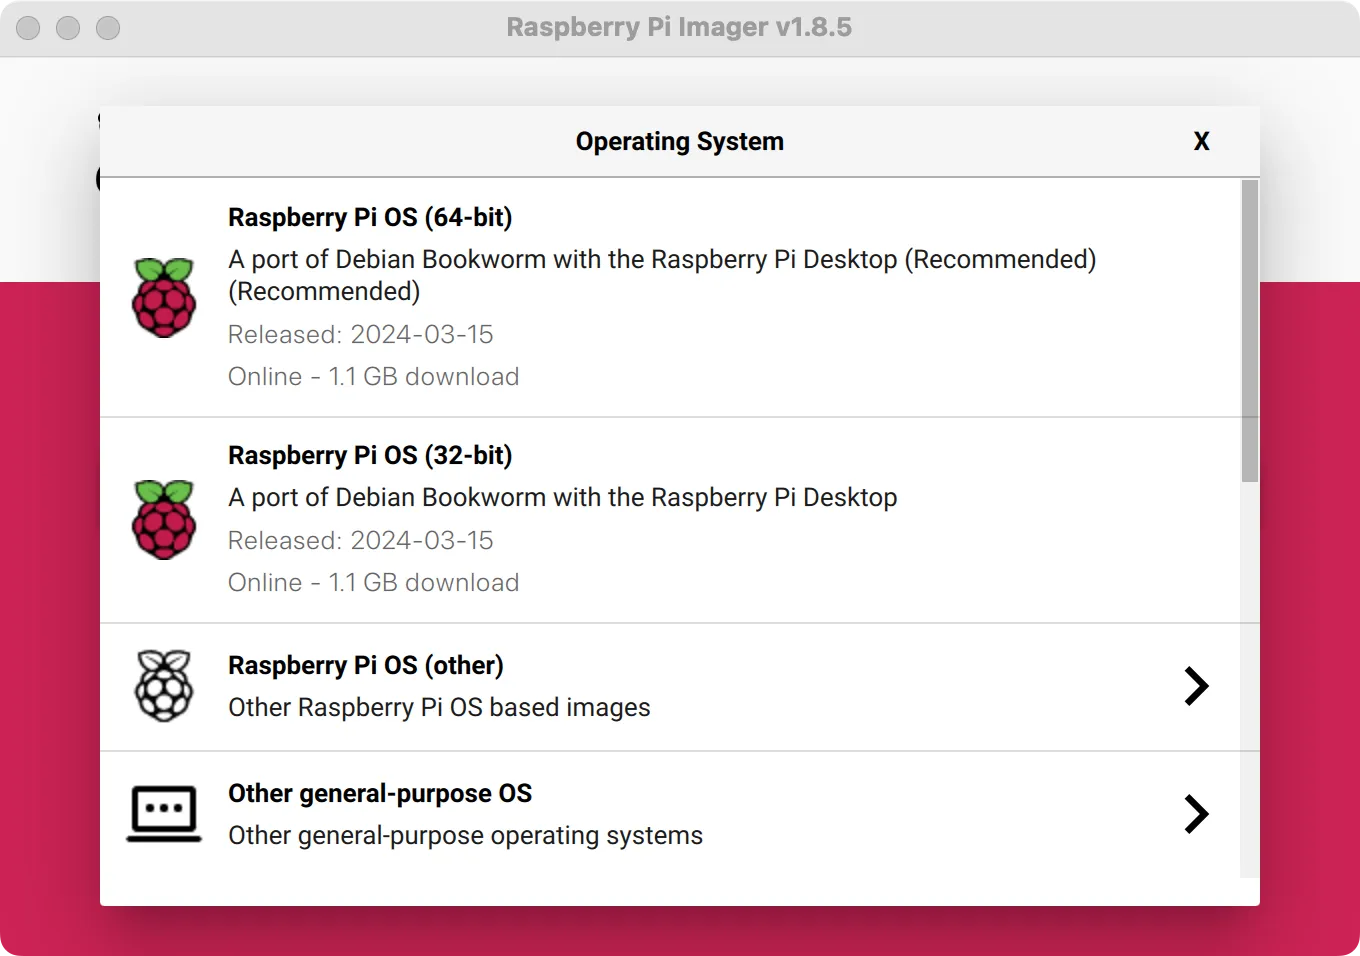
Click on "Choose OS" and select "Raspberry Pi OS (64-bit)" from the recommended options
Note: The 64-bit version is recommended for optimal performance with the Dual 2.5G Router HAT
-
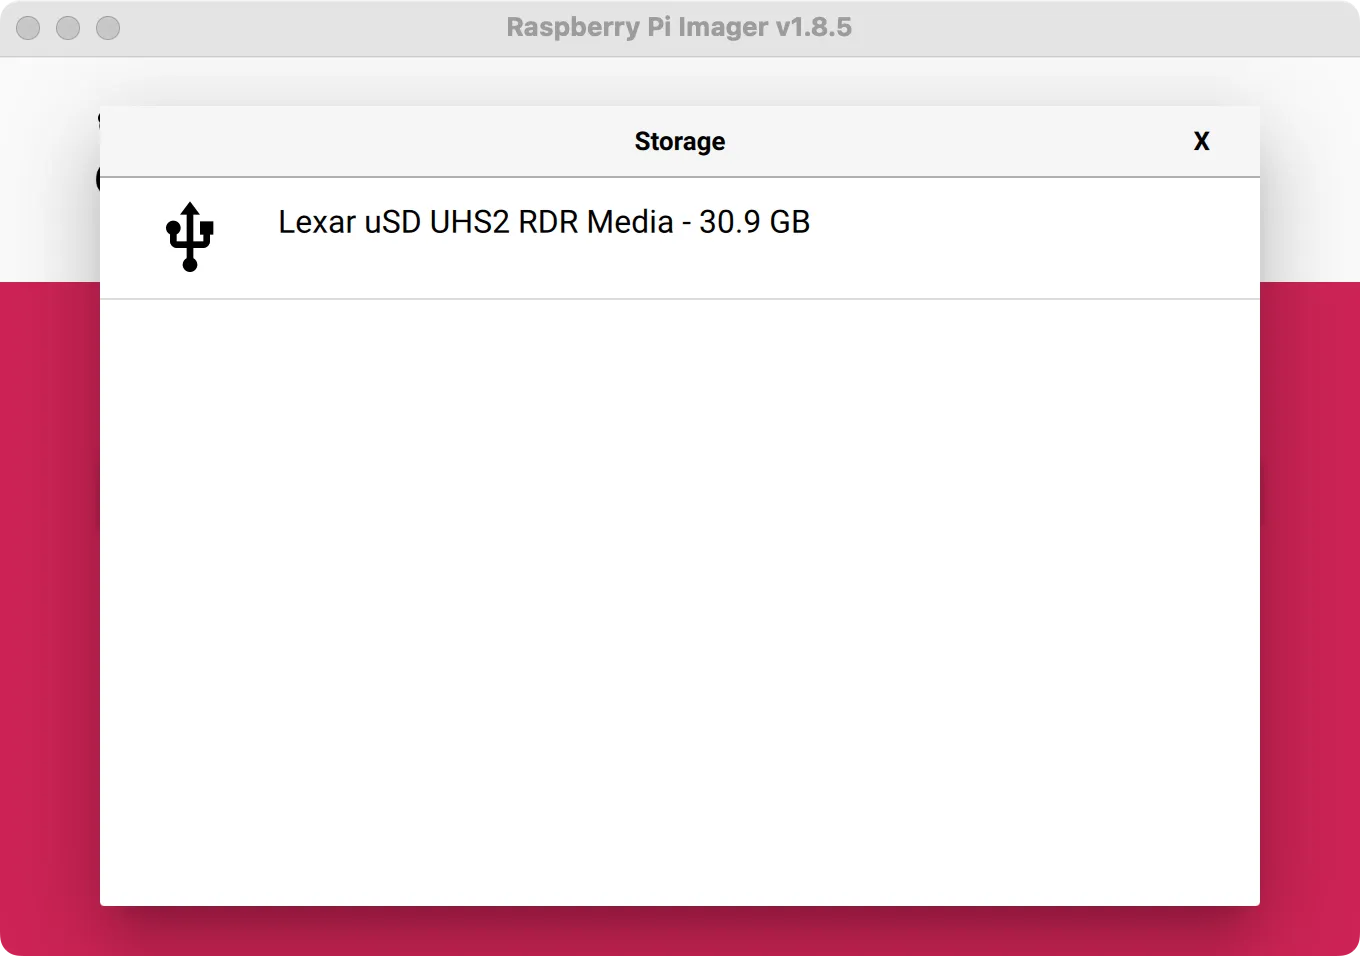
Click on "Choose Storage" and select your microSD card from the list
Warning: Be careful to select the correct storage device as all data on the selected device will be erased
-
Click on the gear icon (⚙️) to access advanced options
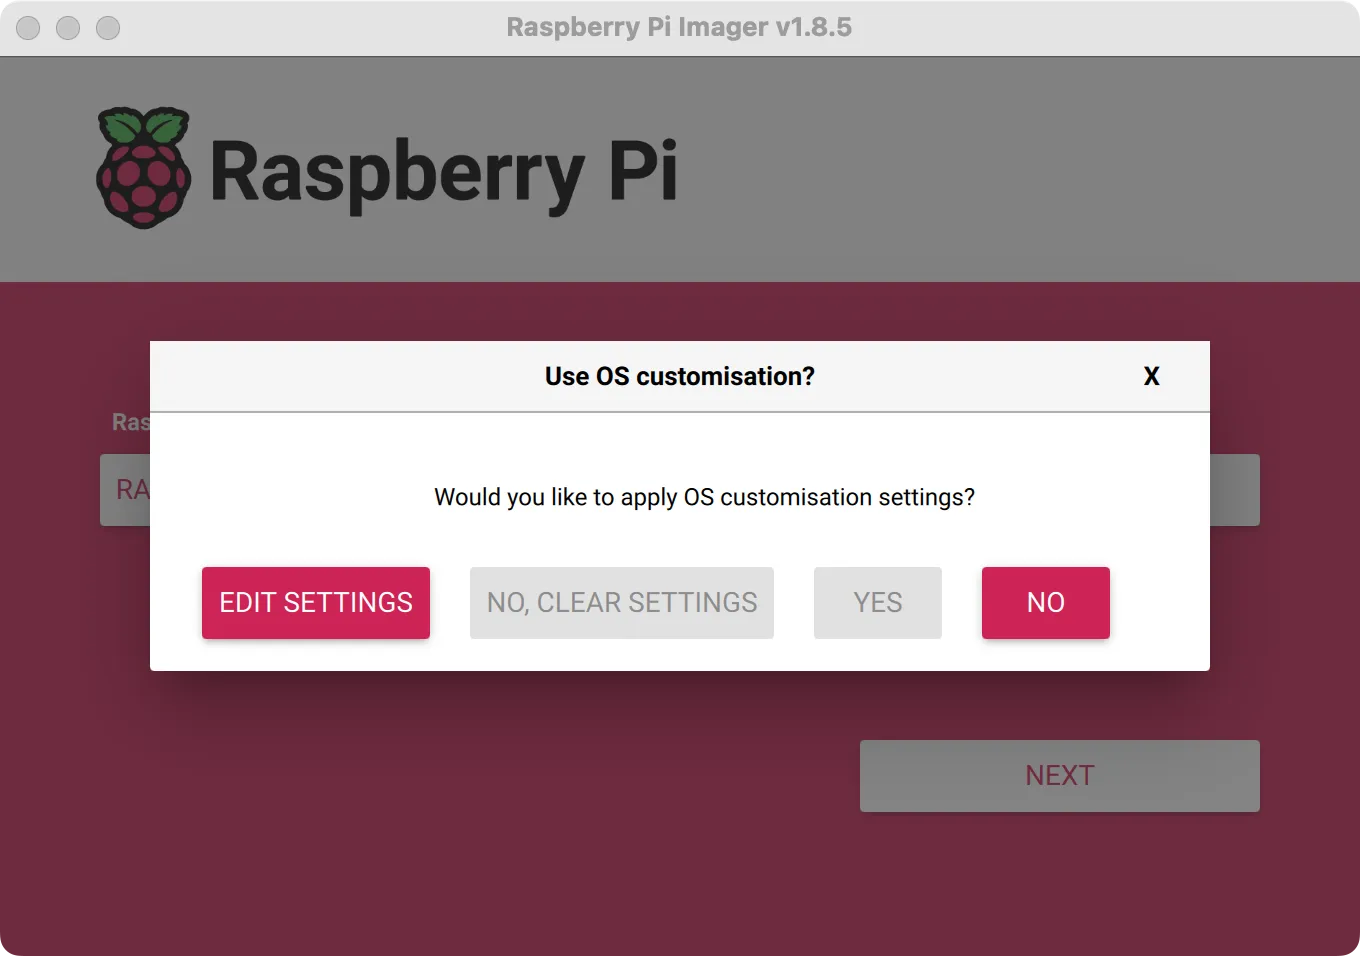
-
Configure user settings:
- Set a hostname for your Raspberry Pi (optional)
- Create a username and password
- Configure your WiFi network (if needed)
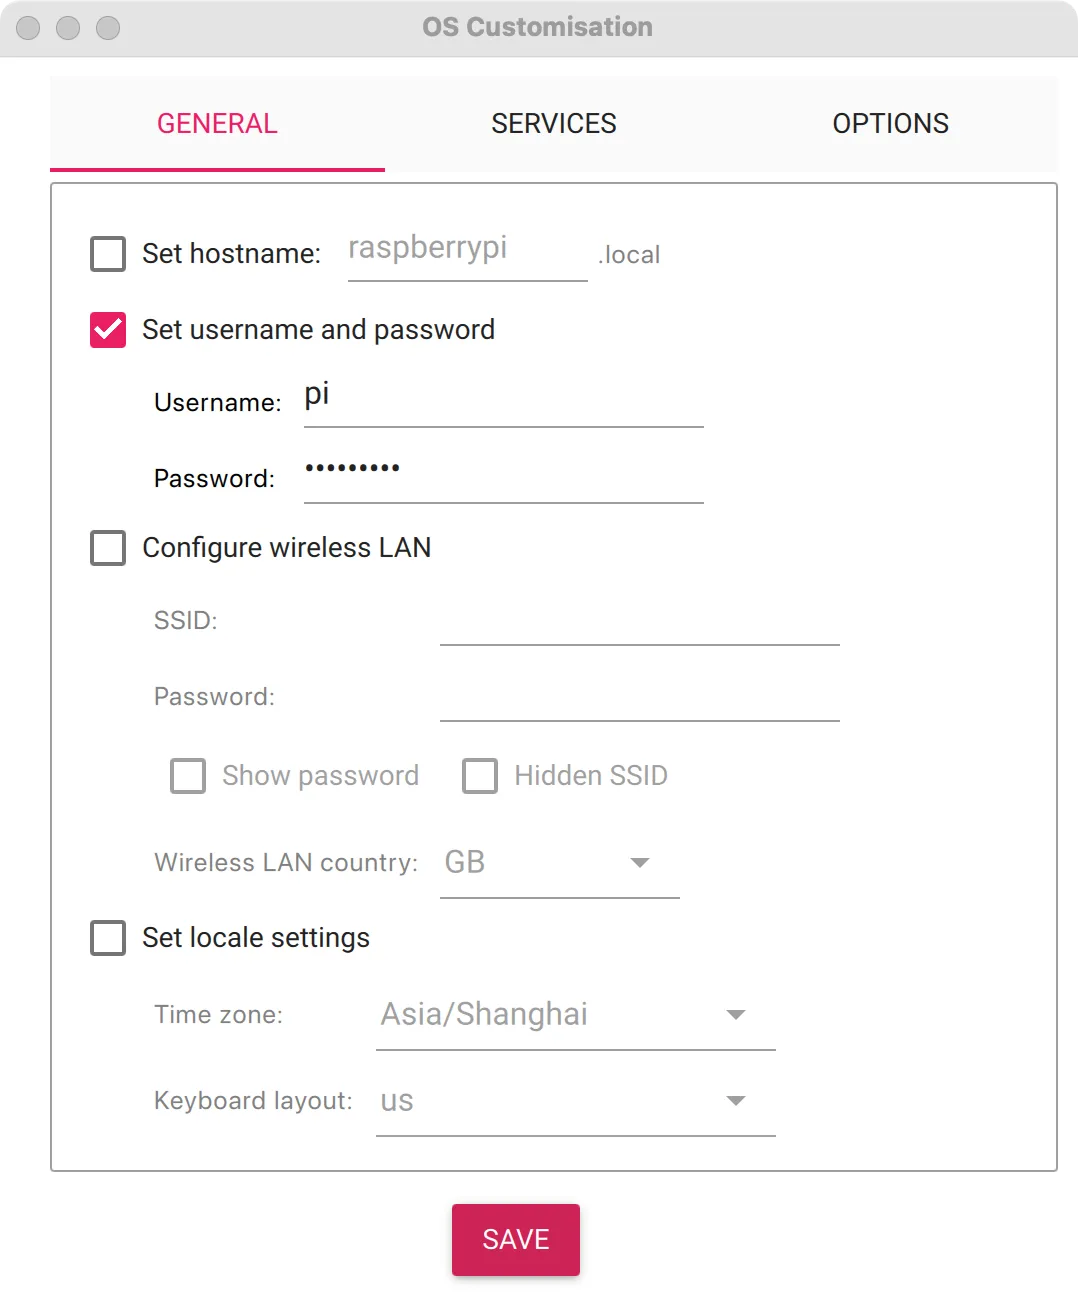
-
Enable SSH access (highly recommended for headless setup):
- Check "Enable SSH"
- Select "Use password authentication"
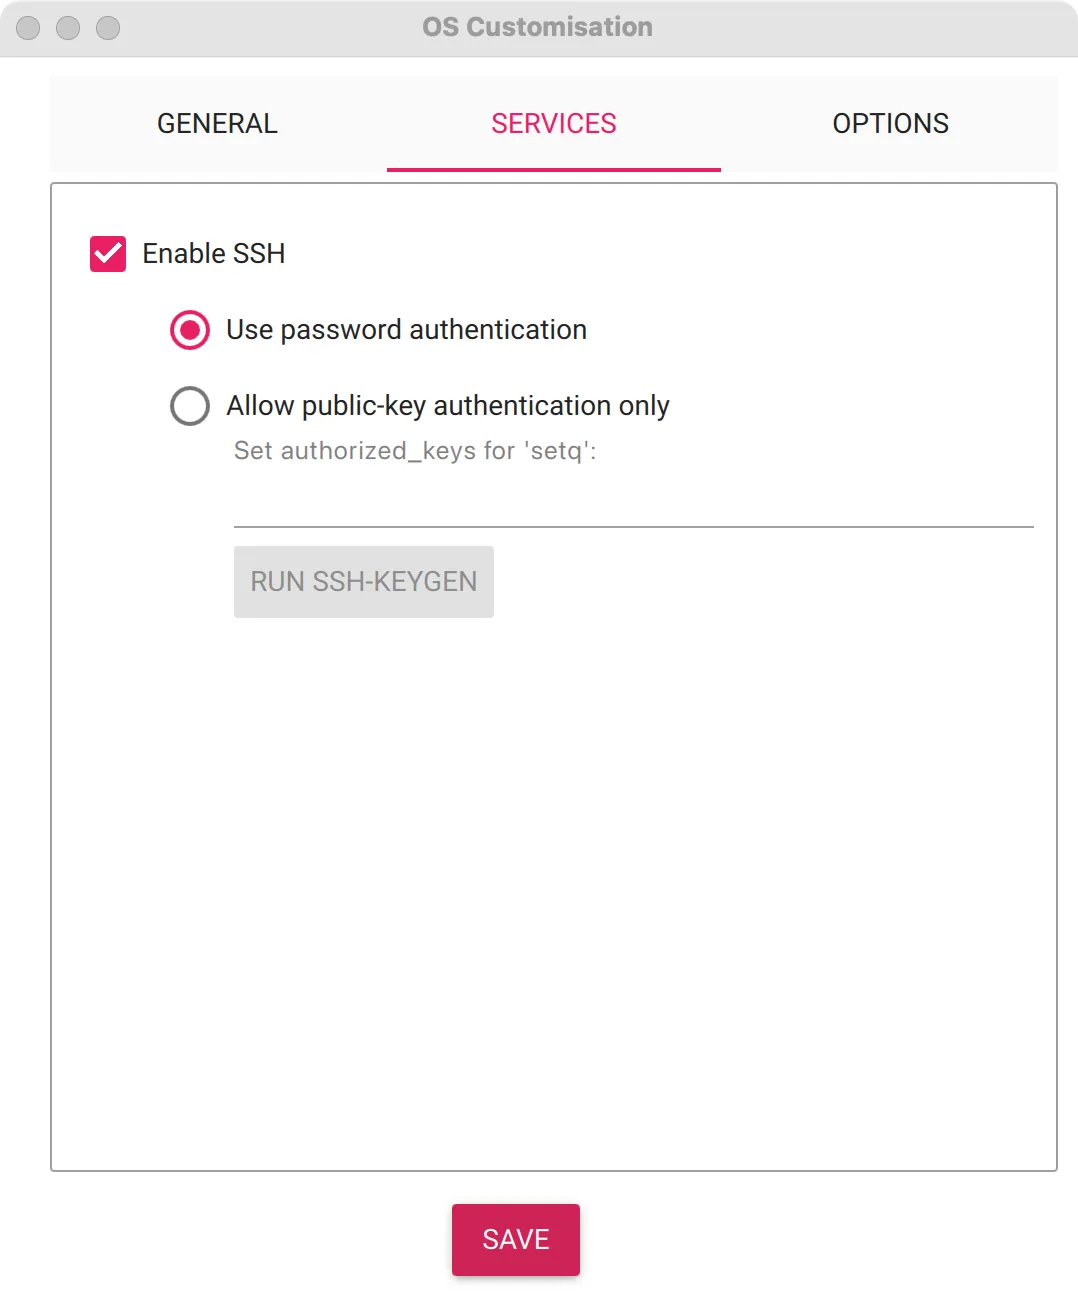
-
Click "Save" to confirm your settings, then click "Write" to begin the installation process

-
Wait for the process to complete. Once finished, you'll see a confirmation message

Next Steps
After successfully writing the operating system to the microSD card:
- Safely eject the microSD card from your computer
- Insert the microSD card into the microSD card slot on your Raspberry Pi 5
- Connect the necessary peripherals (keyboard, mouse, monitor) if not using SSH
- Connect the power supply to boot your Raspberry Pi 5
Configuring the System for Dual 2.5G Router HAT
After booting your Raspberry Pi 5 with the newly installed operating system, you'll need to ensure the system recognizes and properly configures the Dual 2.5G Router HAT. Please proceed to the Getting Started section for detailed instructions on configuring the network interfaces and testing your setup.